Kate’s been a bit bored lately and I know that it’s only going to get worse as it gets hotter here. (I figure we have about 3 more weeks of being able to play outside before we start melting.) This is a problem for 2 reasons. 1, she’s bored. 2, she drives me crazy when she’s bored. Right then, time for action. I’ve decided we should do a letter a week as a theme for projects. Raptor attends a Montessori preschool on Tuesdays and Thursdays, but they organize their units around the continents so I’m not worried about repeats or conflicting letters. Kate loves projects and I love making them for her, but I get bored too so you can see how a theme is helping all of us. My plan is to give her some Montessori inspired “trays” on Mondays that she can work with all week and then have a few structured things for us to do each day. Just to be clear, I plan on following her lead with regards to how much “school” we’re doing each day. If she wants to play in the mud one week instead of working on the letter Q, that’s just fine with me.
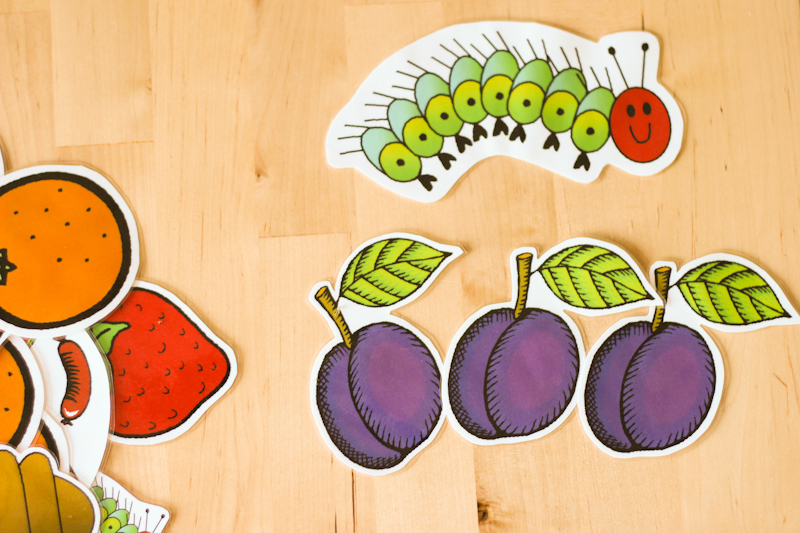
First up, I cut out some apples and seeds with my cricut. I got the SVG file for the apples here for free and the seeds are a raindrop from the SCAL software. I laminated them before writing on them so that I could reuse them over and over. I’m thinking that the seeds will be great for a watermelon unit and the apples would be great for fall. Also, I just love my laminating machine and will sieze any excuse to use it. 🙂
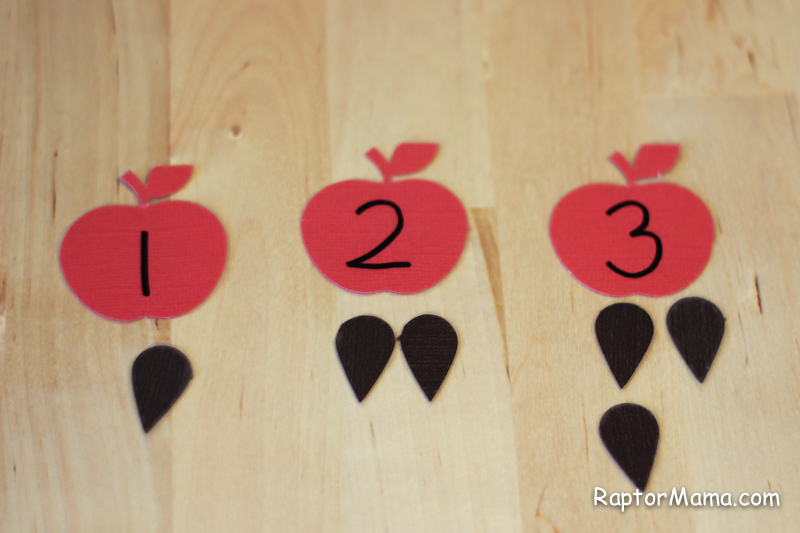
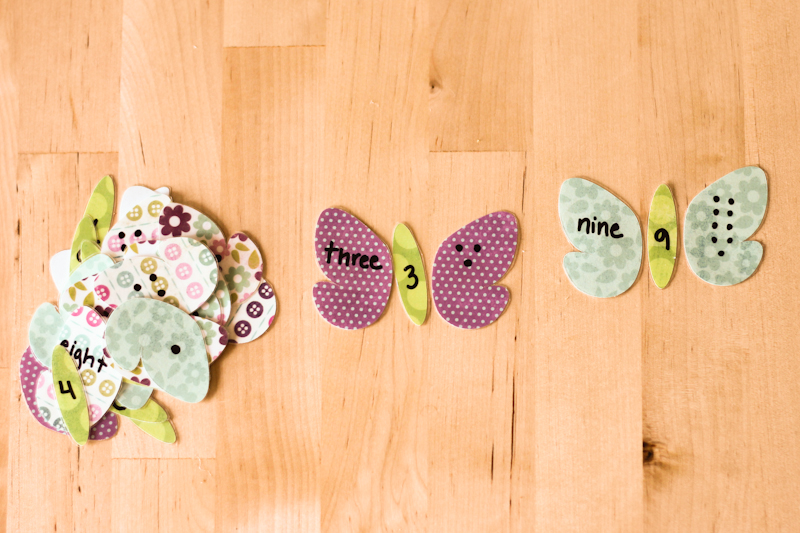
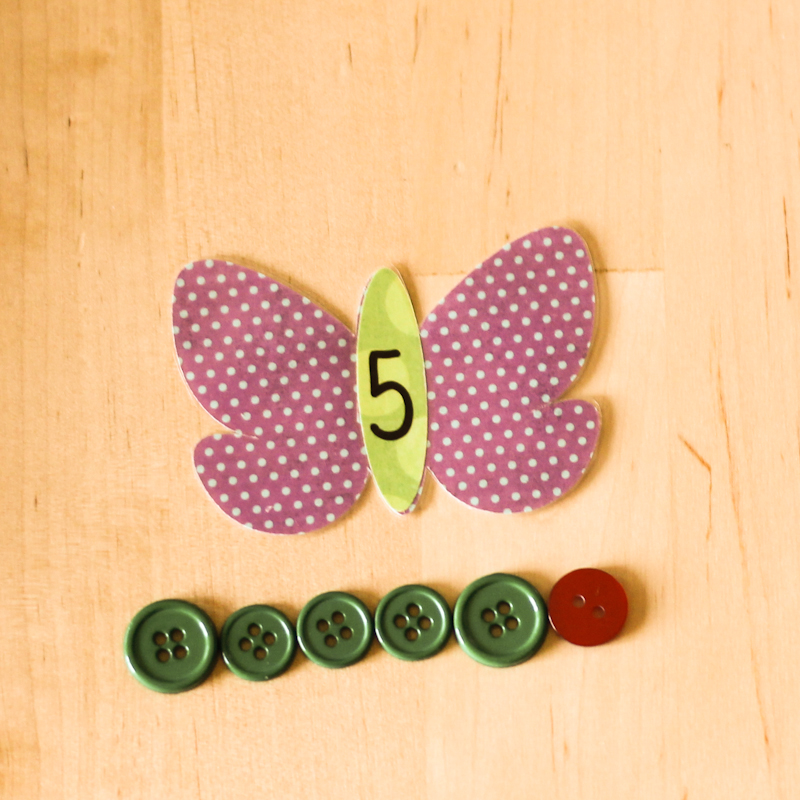
I’ve done this counting work several times, but Kate loves it every time I make it. Why don’t I keep out the ones I’ve already made? Because she gets bored with them.
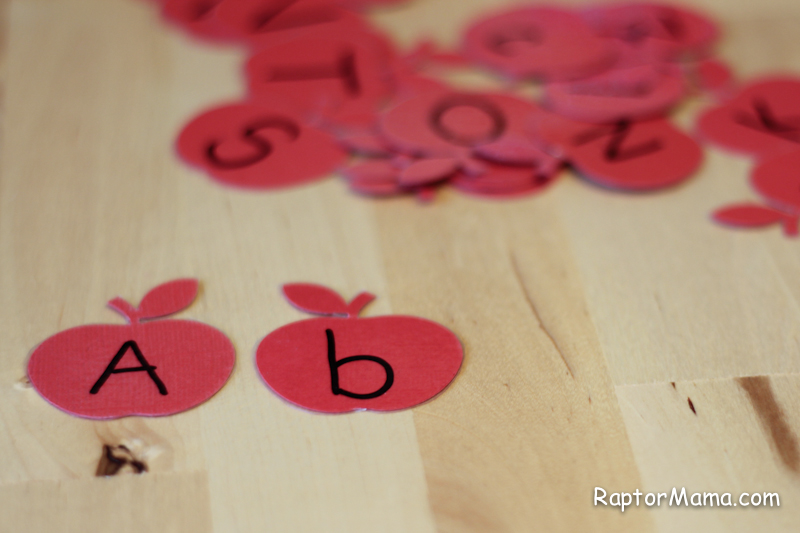
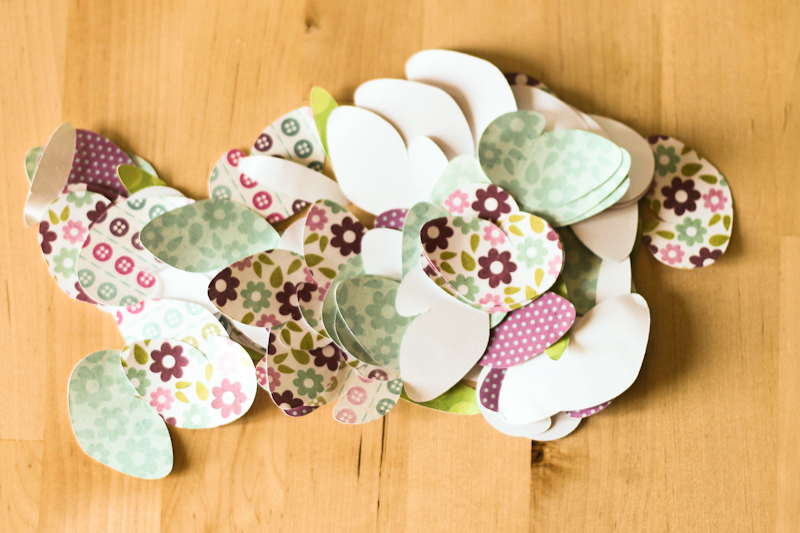
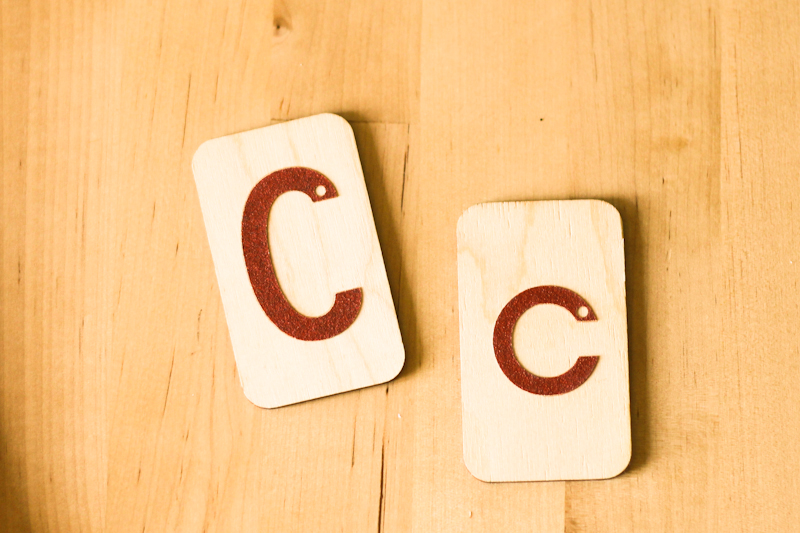
Likewise, I’ve made these letters before, but I think she’ll enjoy them again.
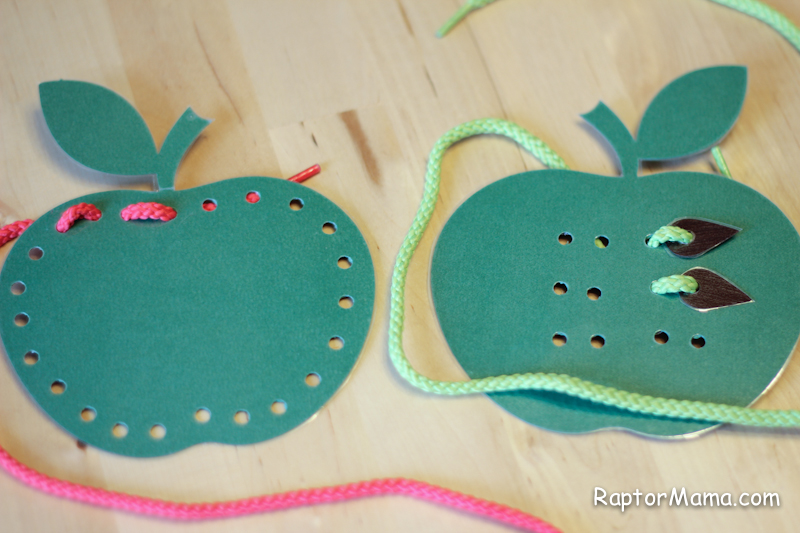
Raptor’s been very interested in watching me work on this cross stitch project so I made her some more lacing cards. On the left is a basic lacing pattern and on the right is one where she can stitch the seeds to the apple. I’m currently looking for my yarn needle so that she can feel more like she’s stitching.
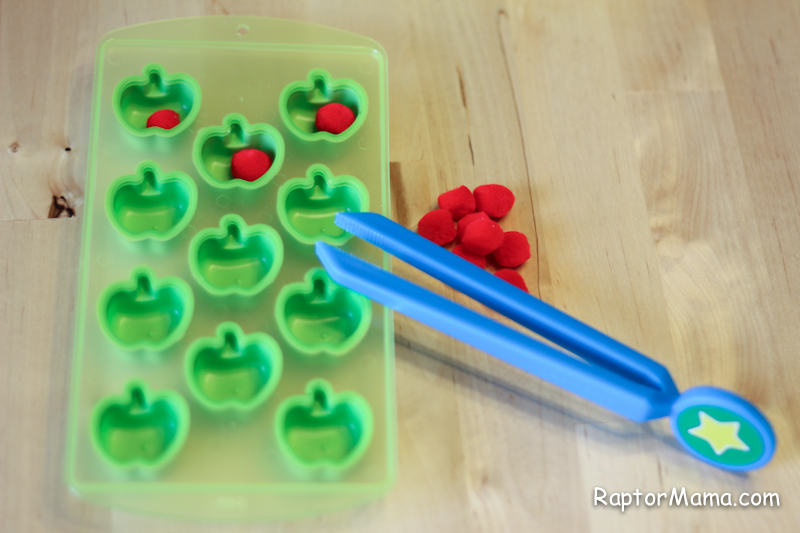
I think she’ll be the most excited about this. I found this apple ice cube tray at the Target Dollar Spot and the idea is that she’ll transfer the red puffs into the apples using the tongs.
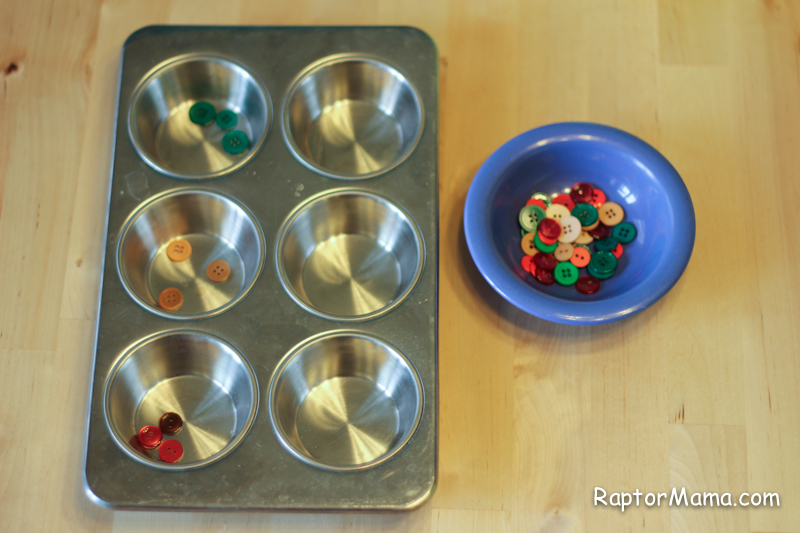
This one is sorting buttons by color into the muffin tray. If I can find my tweezers, I’ll throw them in here, but if not I think she’ll like it just fine as a simple sorting activity.
Also, I’m sooooo cool that I spent my Saturday evening writing “lessons plans” for the first week. Raptor still has preschool on Tuesdays and Thursdays so those days are lighter. Here you go!
Letter of the Week “Lesson Plan”
Letter: A
Theme: Apples
Monday
Book: Dr Seuss ABCs
Song: Apple Alphabet Song
Craft: My Apple Book
Worksheet: Pre-Writing Skills; Letter Trace
Snack: Crock pot apple sauce
Tuesday
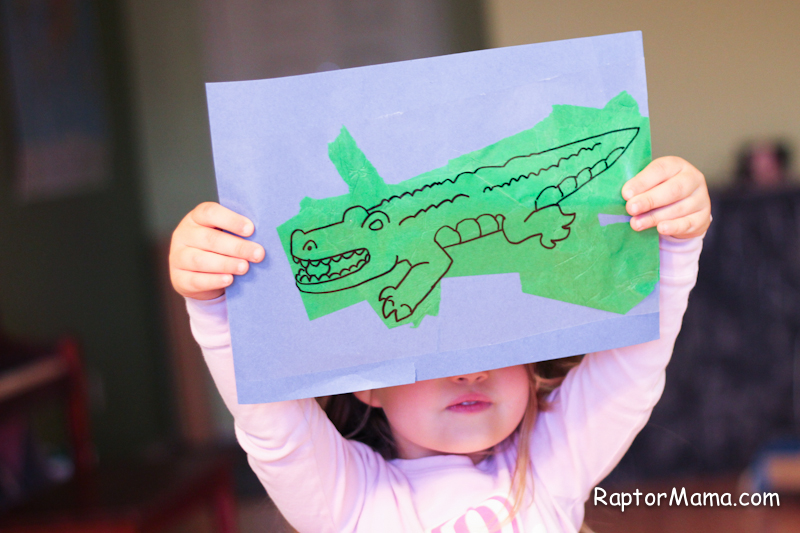
Craft: A is for Alligator Book
Wednesday:
Song: I like to eat Apples and Bananas
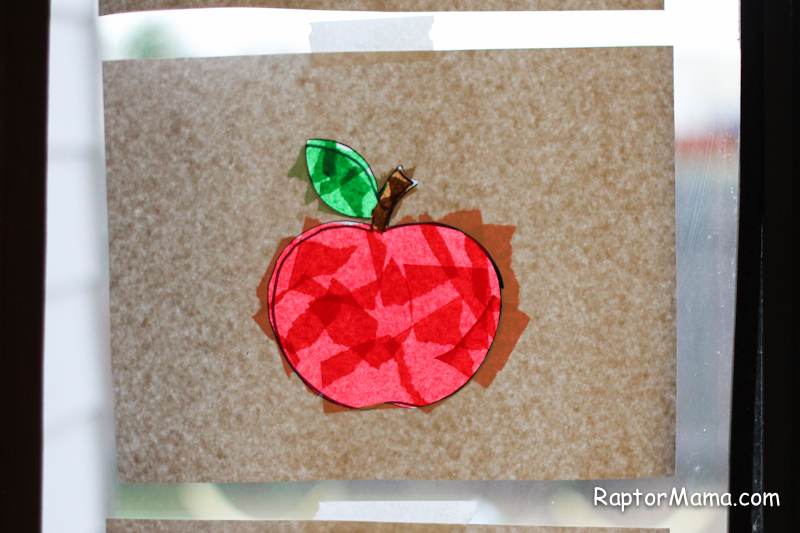
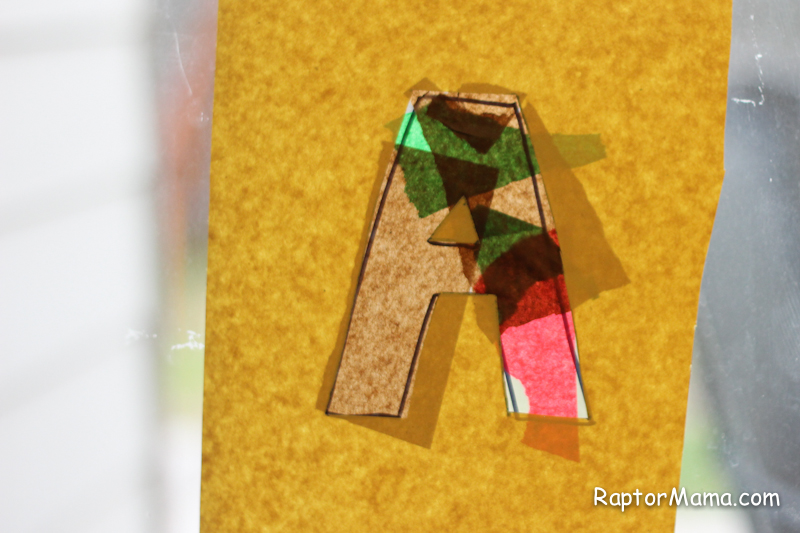
Craft: Stained Glass Apples
Snack: Apple Chips
Thursday
Craft: A is for Apple Color Page
Friday
Book: 10 Apples up on Top
Craft: 10 Apples up on Top
Snack: Apples
Other: Apple seed graphs
Trays:
Number Apples with Seed Counters
Apple Alphabet
Button Sort with Tweezers
Apple Pompoms Transfer with Tongs
Apple Lacing Cards
Extras:
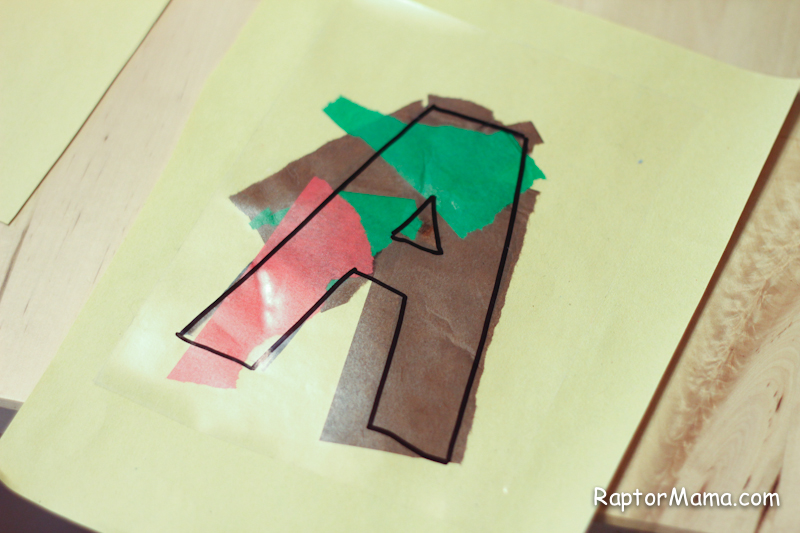
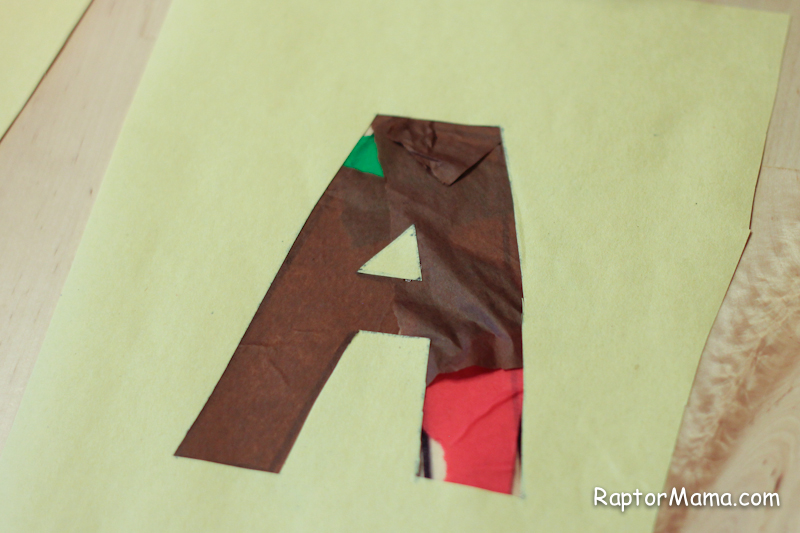
Cut out apples from magazines and collage
Cut out letter As from magazines and collage
You guys know that I have very few original ideas of my own so here’s where I stole them from found inspiration.
Oopsey Daisy’s Mommy School (This packet is incredible. I only wish she had one for every letter! We could do A is for Apple for a month and still not run out of things to do from this packet.)
Mr Printables’ Alphabet Coloring Page (I went ahead and printed the whole alphabet.)
Kinder Teacher’s Apple Seed Graph (I forgot to send print this one, but I figure I can draw it out easily enough.)
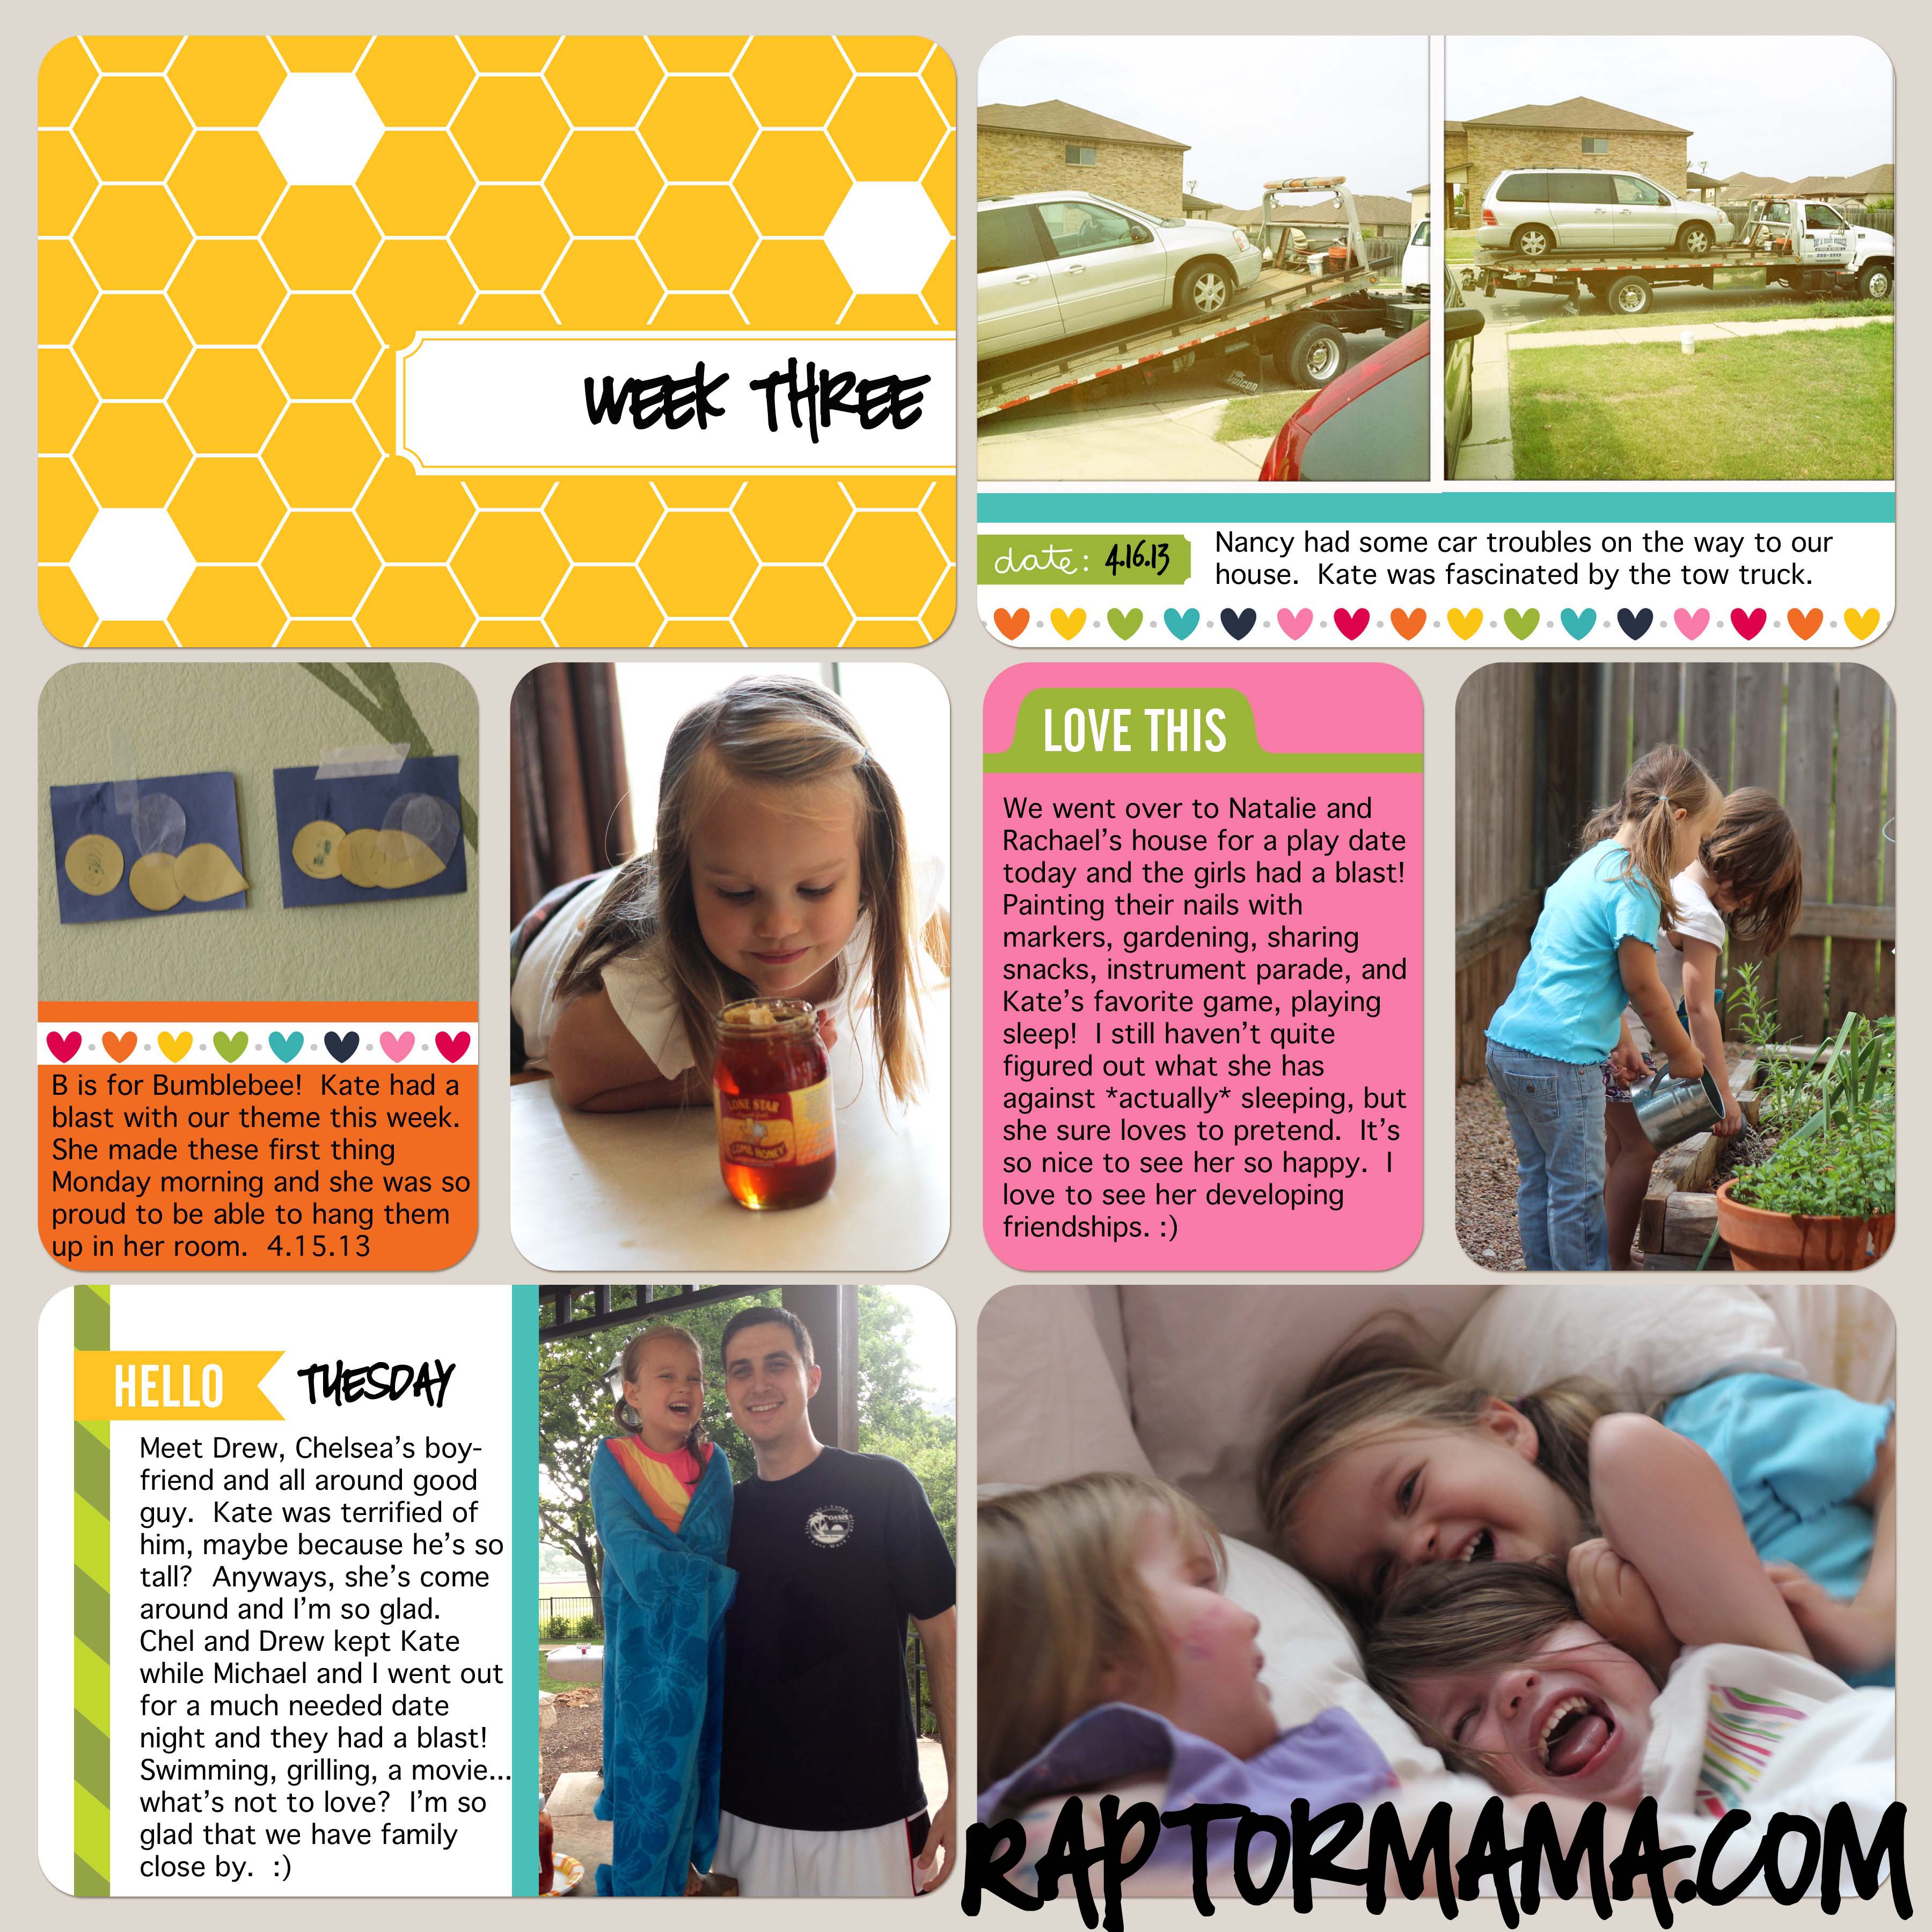
Next week we’re doing B is for Bumblebee. Get excited!

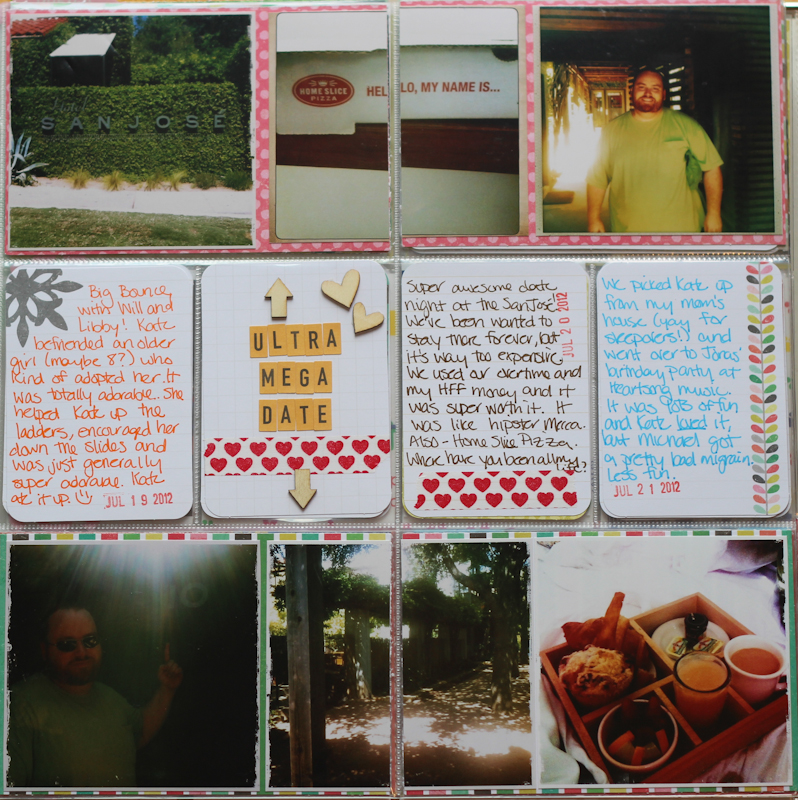
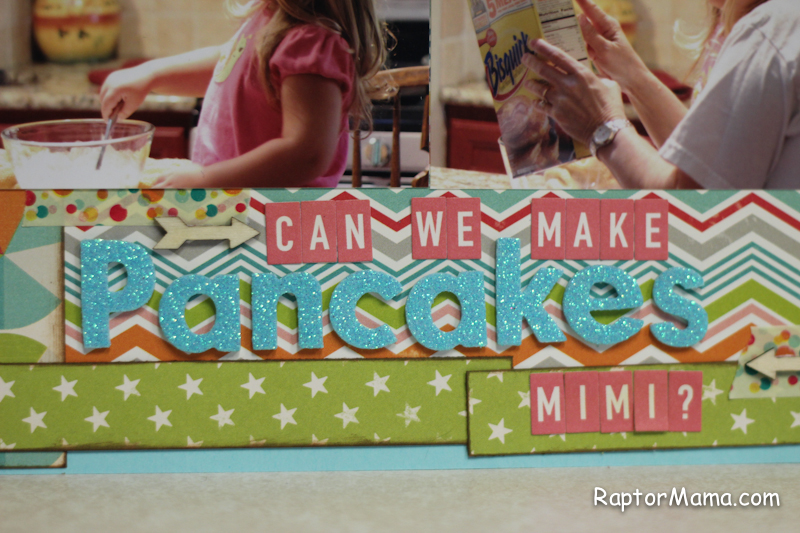 Then I added some washi tape, wood veneer arrows, and my favorite Thickers and letter stickers.
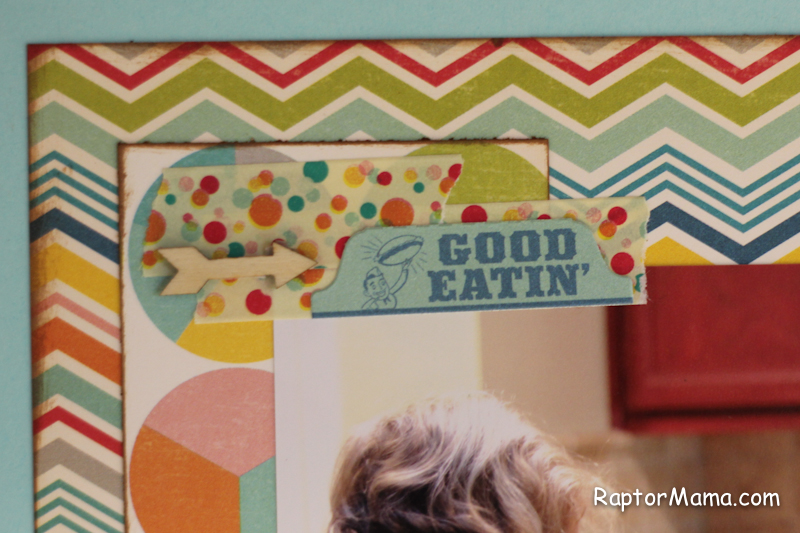 A bit more washi, another arrow, and a sticker and I’m calling this one done. 🙂