Tutu Addiction

I have a tutu addiction.  No seriously.  I have just finished making my 7th tutu for Kate.  Um, yeah.  She’s only 20 months old.  I have also bought her no fewer than 4 tutus.  Honestly, there may have been more.  I’ve kind of blocked that from my memory.  🙂

I love this tutorial and I have modified it over time to make it work as Kate has grown.  This is actually only the second time that I have followed it as written.  The first was for Kate’s first Halloween when she was just shy of 4 months old.  She looked ridiculous.  Understandable as the tutorial was for a size 3-4T.

Good lord.  Maybe I should rename this post “When tutus attack!”  It looks like I just set her down in a giant vat of tule.

Hey, at least it’s tasty.  And that sure is one cute baby.

I made my second tutu for her first Christmas and I made a few modifications that made me much happier with the overall look of the tutu on a younger baby.


So cute!  I almost can’t stand it.

I’ll walk you through the tutorial and then I can describe the modifications that I made along the way.

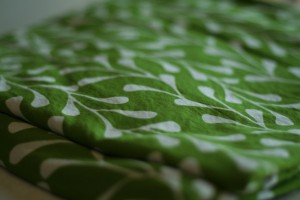
First, I bought 2 yards each of 2 colors of tule.  I found some really yummy patterned tule at Joannes and I’ve been itching to use it.  I left it folded in half as it comes off the bolt, then I folded it in half once more lengthwise and once width wise so I could cut it quicker.
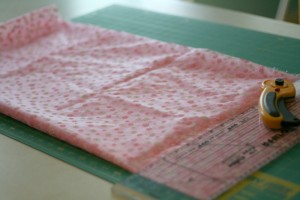
I cut it with my mom’s rotary cutter which I have stolen borrowed.  I love this thing.
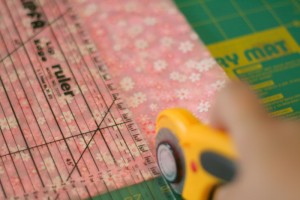
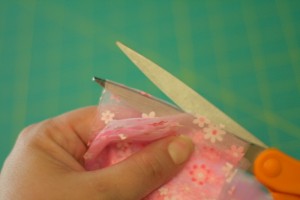
Once you have a pile of 3 or 4 inch wide strips, you cut them each in half if you are making a tutu for a toddler.  When Kate was 6 months old I cut them in 4ths.  When she was 9-14 months old, I cut them in 3rds.  Now that she’s 20 months old, I cut them in half.  She’s a very tall 20 month old.  If you’re cutting them in half, you should just cut them along the crease they already have from being on the bolt.  I gather up a few at a time in my hand to speed things along.
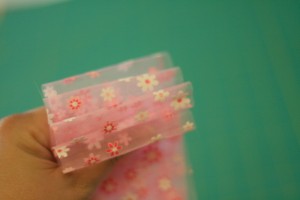
The directions call for layering 3 strips of tule for each knot.  Up until this tutu, I’ve always tied the knots on in a single layer.  Tripling them makes for a fuller tutu which looks great on a toddler but ridiculous on an infant.  See above halloween costume.
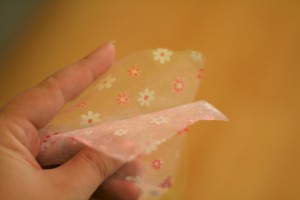
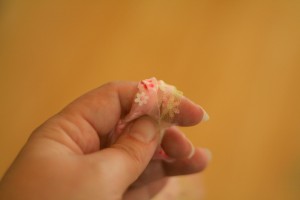
Either way (layered or not) fold the tule in half.  Then smoosh (yes that’s a technical term) the tule together.
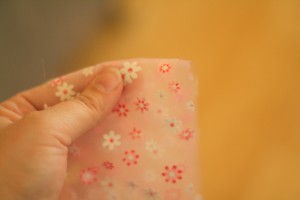
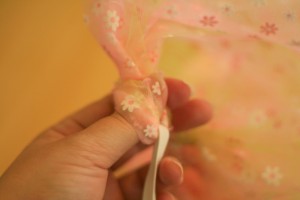
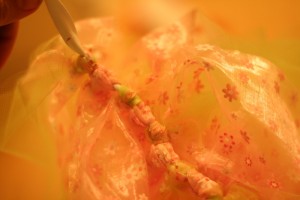
Make a loop around some elastic and pull the tail through the loop.  Her directions on how to do this are actually probably way clearer than mine.  Rest assured that it is much easier than it sounds.
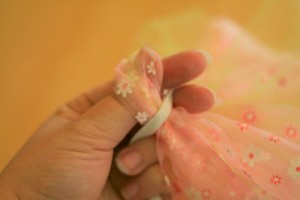
Wrangle your toddler for a “fitting” and add loops as necessary.  Don’t freak out if you run out of tule.  You can spread it around a fair amount and still have it look good.  Once you’ve decided you’re done, cut the elastic 2 or 3 inches from the last knot on either side and sew those puppies together on your sewing machine.  Use your zigzag stitch.  You can also handstitch it which is what I did when I was still cowering in fear of my sewing machine.  Cowering ends today!
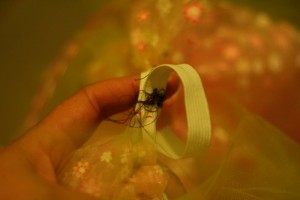
Hmm…  The victory dance may have been a bit premature.  That is one hell of a knot.  I have no idea what went wrong there, but never fear!  Tule can cover a multitude of sins.
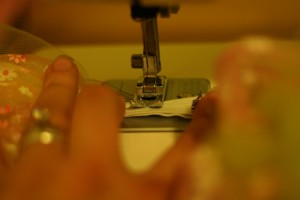
Victory is mine!  Now just loosen one or two of the knots and slide them over the part where the elastic is sewn together.  Et voila!  Raptor is peacefully sleeping at the moment, so pictures of her in her pretty new tutu will have to wait.  I have grand plans for it involving a photo shoot in the bluebonnets.  Get excited.
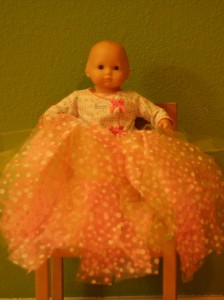
For now, here a picture of it on one of her dolls.  Doesn’t Bitty Baby look smashing?  🙂  It looks a bit more like a dress than some of my previous tutus, but I think that can be attributed to the patterned tule which is less stiff than regular tule.

Since I used patterned tule, I didn’t add any ribbon trim to this tutu, but that can be quite fun.

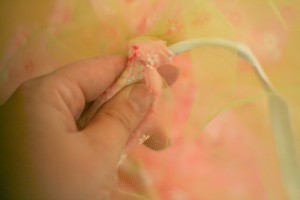
Just scootch the tule out of the way, and loop a piece of ribbon over the elastic.  I left it as long as the tule on one side and just long enough to be stitched to itself on the other side.  Make sure to stitch it to itself and not to the elastic so that you can scootch the tule and ribbon around to make it even.
 

Busy Busy Weekend!

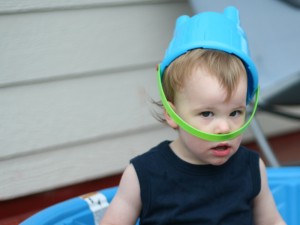
We had such a busy weekend that not much crafting got done.  I did manage to get to the store and buy some supplies for a new project.  More on that later this week.  Here are some cute pictures of Kate at the park to tide you over.

It was a windy day and she had a blast looking at all the kites people were flying.  Notice the new batman shirt.  She was thrilled.  That’s my girl, either wanting a tutu or a superhero shirt.  There’s no in between.  🙂

The swings are always a favorite.

She’s turning into such a little girl.  I feel like her toddler days are slipping through my fingers.


Colored Water Fun

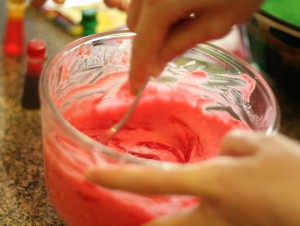
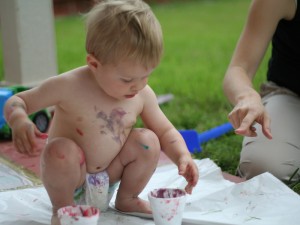
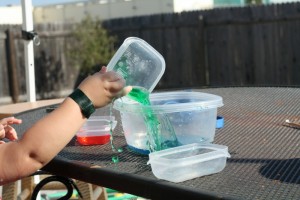
It was such a pretty day yesterday that Kate and I decided to play outside.  I stumbled across this awesome blog a while ago and have been wanting to try out the idea for mixing colored water.  Kate had a blast and it was super easy.  Win! Win!

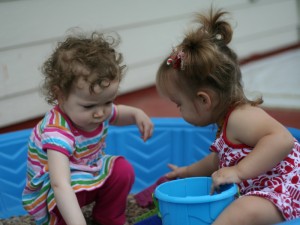
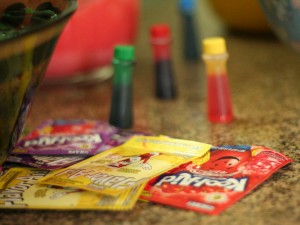
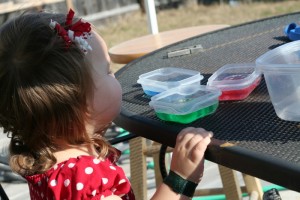
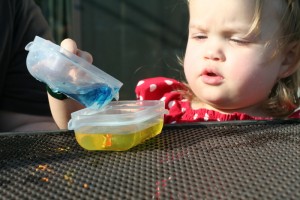
I got a few tupperware containers and put water in them.  Raptor found the addition of one drop of food coloring to be super cool.

We had one big tupperware container that she could pour the little ones into to see how the colors mixed.  She ended up using it mainly as a place to discard the water.

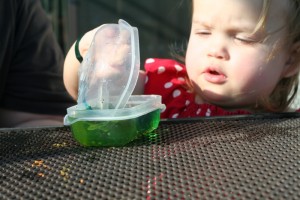
Mixing yellow and blue to make green was by far the most dramatic color change.

I was a bit worried that it would stain her clothes, but it was so watered down that it wasn’t an issue.  Kate was totally enthralled in this activity.  We will definitely be doing it again!


My Answer to Traditional Baby Books

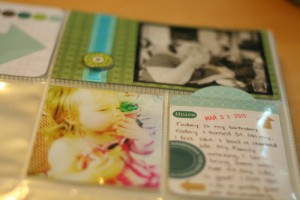
I decided to forgo a traditional baby book for Kate.  I figured I love scrapbooking so I’ll just keep a really detailed one.  Understatement.  I had to split her first 12 months into 2 separate books and they are still way too big.  Her second year books don’t seem to be shaping up to be any smaller either.

Of course this did leave me with a dilema.  Where could I write down things like when she got each tooth?  It’s not like I’m going to make a scrapbook page for each tooth coming in.  (Largely because she wouldn’t open her mouth and let me take pictures of her teeth.  I totally would have done a scrapbook page about at least the first one or two.  Especially because her teeth came in out of order and she looked like a little jack-o-lantern with checkerboard front teeth.  Too adorable.)

Then I hit on the idea to include a calendar layout each month.  That way, no matter how much or how little ended up in the scrapbook for any given month, I would have a detailed record of what we did every day.  I thought it would be a really neat thing for her to be able to look back on as an adult.  I had planned on only doing it for the first year, but now I can’t stop.  It’s a sickness I tell you.  It’s a good thing they are super simple.

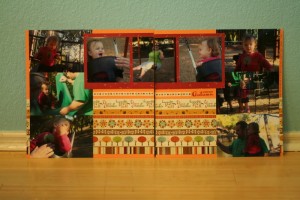
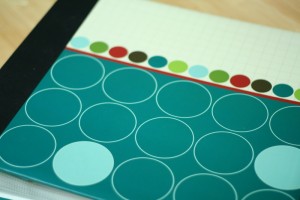
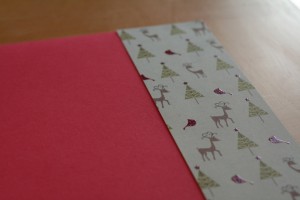
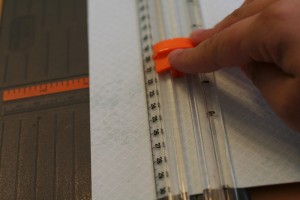
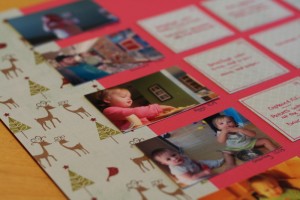
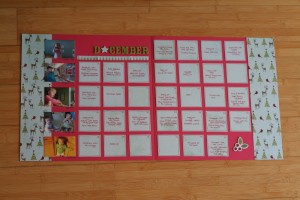
I cut 2 strips of patterned paper 2 3/4 inches wide and adhere it to the outside edge of 2 12×12 sheets of cardstock.  For this layout I’m using some really yummy Christmas paper.

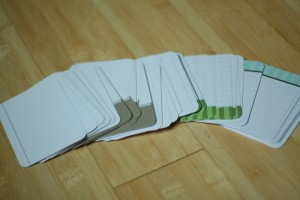
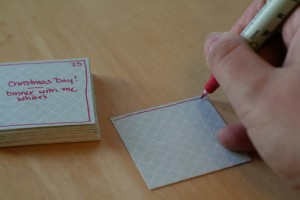
Then I cut out squares that are 2 inches by 2 inches.  One sheet of cardstock will yield 36 squares which is more than enough for a calendar.  I generally only cut off one or two squares from the last strip so that I have some paper left over for the title.  Usually I use a coordinating cardstock, but I’m running low today so I had to improvise.  I went with a lightly pattered paper from the same line as the edge pieces.  Once I have a nice stack, I draw a line around the edge of each square and write down what we did that day.  Be sure to include first teeth/ words/ food etc.

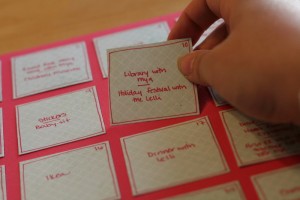
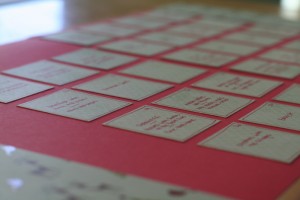
Then I glue them down in a calendar pattern.

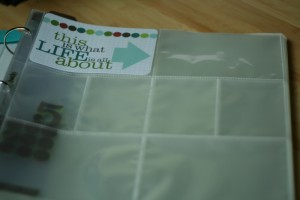
Now, you’ll notice there is a blank spot to the left of the calendar blocks.  My husband wanted to take a photo of Kate once a week for her first year of life.  (She was born on a Wednesday so every Wednesday we took a picture of her on this giant orange beanbag that we have.)  This seemed like the perfect place for the Wednesday photos!  We stopped doing the weekly photos when Kate turned one so now I use that space to include random pictures that end up on her blog but that I’m not going to scrapbook.  Usually they are camera phone pictures.  I turn them all landscape, make a collage in Picasa and then print them out as a single 4×6 print.  Then I cut them apart and adhere them to the layout.  It’s the perfect way to showcase some “random” photos that don’t warrant a page of their own but that you still want to include.

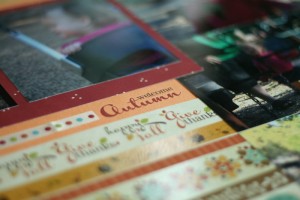
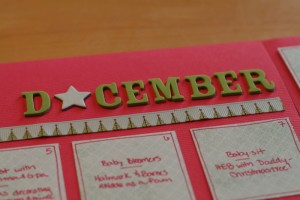
Next up is a title.  Usually I cut them out with my cricut, but sometimes I mix it up a litte with some chipboard letters or Thickers.  I particularly like the foam ones.  Of course I am always missing one letter, in this case an E.  The solution?  I put a chipboard star in place of the E.

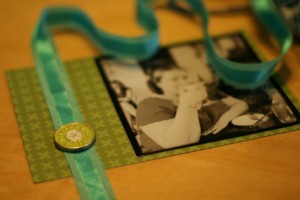
Last up is something to jazz it up a little.  Maybe a rubbon or some more chipboard in the extra square?  Or some ribbon?  How about both.  🙂


Felt Alphabet

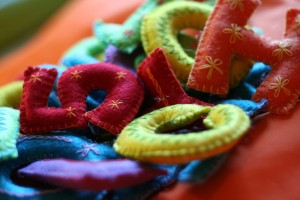
I’m always looking for cool crafty toys.  If they are educational even better.  I came across this Etsy Listing for an embroidered stuffed felt alphabet about a year ago and promptly decided that there was no reason I couldn’t make those myself.  There was a fair amount of cussing involved, but I was quite pleased with the final result.  I made the first set for Raptor’s 1st birthday and they are still a big hit in our house!

I finished a set last weekend for a friend of mine and I think she’s going to be pleased with them.  Because she’s awesome, I threw in an extra L because her son’s name is Will.  She is getting a set of numbers too.  Each number has an embroidered star that corresponds with the number because that seemed like a cool idea at the time.  It seemed less cool when I was trying to squeeze 9 stars on the number 9, but they ended up looking great so I’m glad I stuck with it.  This has been a fun project!

Hmm…  I just pulled them all out to take some pictures.  Kate was intrigued by the addition of more letters.  I think the pictures are going to have to wait.

Notice anything?

Um, yeah, I embroidered the J backwards.  Whoops.  And the X appears to have disappeared into the black hole that is my living room.  Maybe Kate ate it.  She is a growing dinosaur after all.  Guess I’ll be working on some more tonight.  Since I’m redoing them anyway, I’ll add a quick tutorial.  🙂

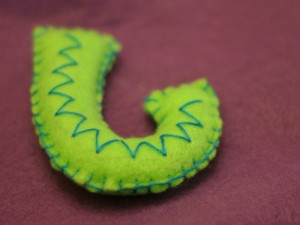
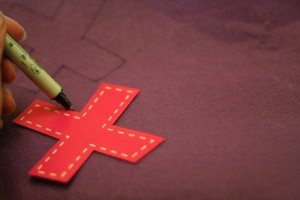
I have some old bulletin board letters from my teaching days which I traced onto felt and cut out.  Cut out 2 of each letter.

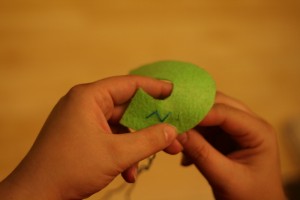
I’ve learned a fair amount of embroidery in the past few years working on Christmas stockings and I watched a few YouTube videos to fill in the gaps- namely the blanket stitch.  Make sure that you’re not embroidering them backwards.

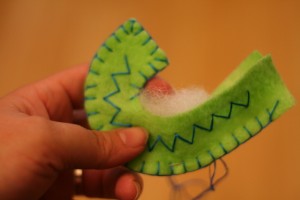
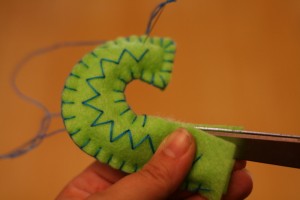
After embroidering the front of the letters, I blanket stitched them together and filled them with polyfill.  Usually I stuff it with a knitting needle, but in a pinch the scissors work too.

They’re not quick to make, I figure it’s takes me about 2 hours per letter, but it gives me an excuse to watch junk TV while I work on them.

You could probably do the embroidery by hand and then machine stitch them if you wanted to make them quicker, but I enjoy hand stitching.  What can I say- I’m a sucker for documentaries on Netflix Watch Instant.  Then there’s the fact that I can barely thread my sewing machine.  Yeah, I think I’ll stick to hand sewing for now.  🙂