Allergy Free Bird Feeder

We’ve been on a project streak around here and today bird feeders were up on the list.  For some reason, I felt like we needed pinecones to do this (holdover from my early childhood on the coast?) but there are no pinecones up here so we had to improvise.  Michael had the awesome idea to use corn cobs as the base.  We got corn as part of our CSA last week so it worked out perfectly.

Step one- eat some tasty corn!  We were shooting for an allergy free project (Kate’s friend Emily is allergic to dairy, egg and nuts) so we roasted the corn with a touch of vegetable oil instead of putting butter on it.  It was super yummy.  🙂

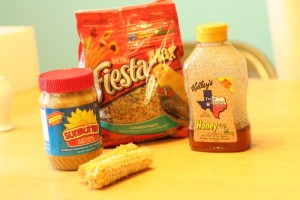
Step 2- gather the ingredients.  We subbed sunbutter for peanut butter.  Incidentally, I tried so hard to make this allergy free, only to find out that the birdseed had egg in it.  Le sigh.  I had no idea that birdseed could have egg in it.  I was checking it for nuts.  You win some, you lose some.  We decided to do this project while Emily was napping to be on the safe side.

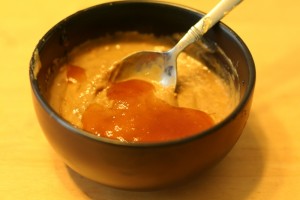
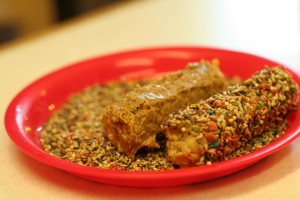
Step 3- we added honey to some sunbutter to make it stickier.  I feel like there are probably a million tutorials for this online, but we just kind of made it up as we went along.  🙂

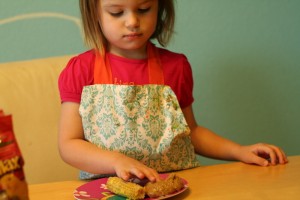
Step 4- smear the sunbutter/ honey mixture onto the corn cobs.  The girls were a little hesitant about getting their hands dirty, but I assured them that we would wash our hands when we were done.

I believe Abby’s exact quote was, “Um, Christina, my hands are yucky.”  Fair enough.  🙂

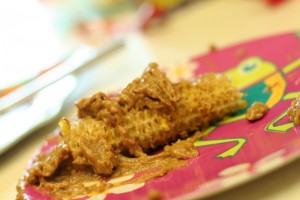
I went ahead and smoothed the sunbutter down with a knife.  I think if we try something like this again I’ll get them little spatulas.

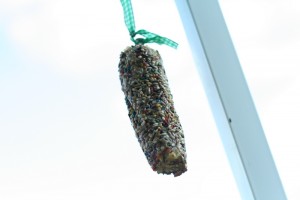
Step 5- coat in birdseed.  The girls had pretty much lost interest at this point so I went ahead and rolled the corn cobs in the birdseed.  Michael put a screw in the top of each one and I tied a ribbon loop to it.  It turned out pretty cute even if the girls weren’t so into the process.

I hung the birdfeeder outside and we eagerly awaited some birds.  This morning when we woke up it was gone.  There was nothing but the screw and some ribbon left.  Either it got windier than I thought last night or something decided it looked mighty tasty and carried it off for a midnight snack.  Overall, this was a pretty fun project though it would be better suited to kids who like to get dirty.  🙂
Slime!

Yeah, so I used another exclamation point, but come on!  It’s slime!  I found this on Pinterest and knew that I had to try it.  It’s a sciency activity with only 4 ingredients and it’s not messy.  Perfect.

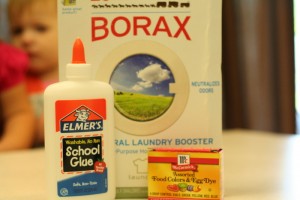
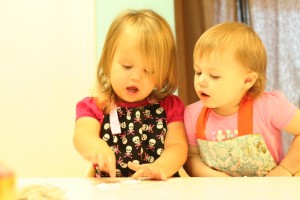
First, I put the girls in their aprons.  I made Kate a new one this weekend.  🙂  Then I got out the ingredients: borax, glue, food coloring and water.
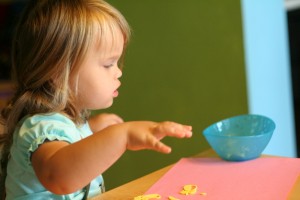
I didn’t notice until later that the recipe was actually at the bottom of that post so we had to kind of wing it.  Luckily it’s a pretty forgiving recipe.

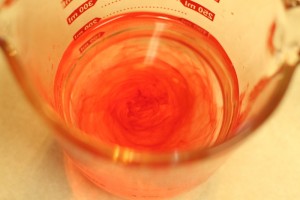
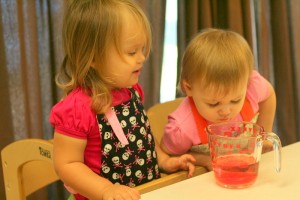
First I disolved the borax in some water and then added a bit of food coloring.  The girls requested pink.  They loved watching the food coloring swirl in the water.

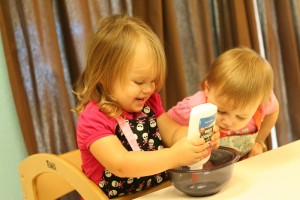
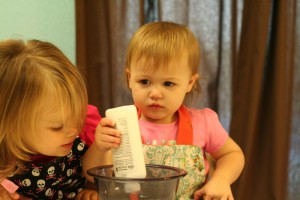
The we took turns squeezing glue into a bowl.  Honestly, I think squeezing the glue was their favorite part.  We added a bit of water to the glue and then poured in the dissolved borax.  Then we had slime!  Or as Kate liked to call it goo.  I guess I should have dyed it blue a la Fox in Socks.

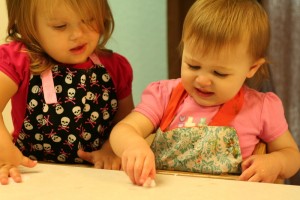
As you can see, Emily was a bit unsure, but Kate was all over it.  Overall, I’d call this activity a huge success!  Kate was asking to make more goo after dinner.  🙂  Side note: make sure your littles don’t eat it.
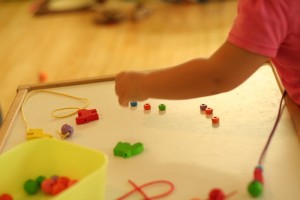
 

Photo Wall

First off, let me say that I just looked back and realized that most of my titles end in an exclamation point.  Wow.  Sorry about that.  🙂
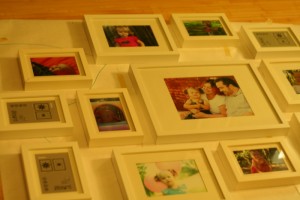
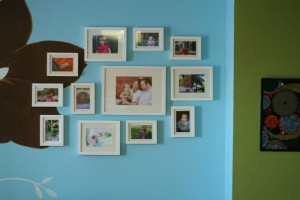
So this weekend, I went through and replaced a bunch of our framed pictures with more recent ones.  I also decided to redo the photo collage in our dining room.  I’ve never been super happy with the arrangement in there so I decided to take all of the frames down and start over.  I also bought a few new frames to add to the mix.  Initially, I was hanging them all willy nilly and was getting very frustrated when the arrangement wasn’t turning out the way I wanted it to.  The problem was that the frames were all different sizes.  We have a travel photo collage in our hallway and I’ve just added to it as we’ve gone new places.  I think it’s a nice arrangement, but all of the frames are the same size so it is easy to arrange them.  This one was much more challenging so I decided to arrange the frames on the floor first.

This is so not my own idea by the way.  I’ve seen it a million times on the internet, but I can’t find a source at the moment.  Actually, I probably could but I’m lazy.  Don’t judge me.  OK, so I just went and looked, but google is not my friend today.  Sorry guys.  I thought that I had pinned it, but no such luck.

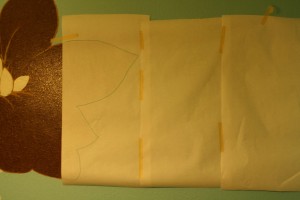
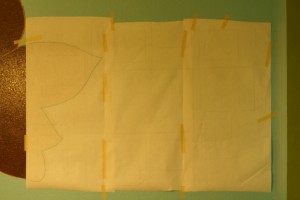
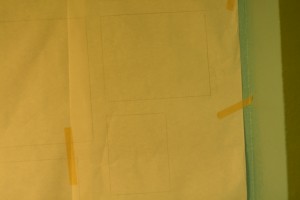
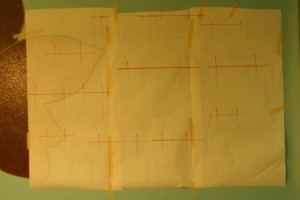
First up, I taped some butcher paper to the wall in roughly the area that I thought I would like to put the pictures.  We have an awesome mural on the wall that Michael painted and I wanted to make sure that I didn’t cover it up so I traced the flower on to the butcher paper.  It also gave me some prospective on where the pictures would be on the wall.

Then I took put the paper on the floor and started playing around with the arrangement of the photos.  Michael helped me out because he has a much better eye for these sorts of things than I do.  He also suggested some overlap between the mural and the photo collage.

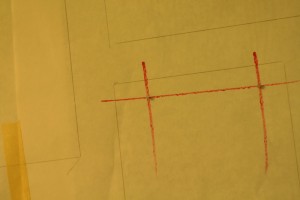
Once I was happy with the arrangement, I traced around each frame with a pencil and taped the paper back up.  I thought about just marking the tops of the photos, but in the end traced all the way around them.

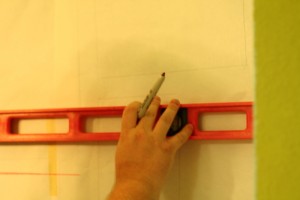
Then Michael and I used a level to mark where the tops of the frames should be.  He drew the lines a smidge lower to allow for the width of the frame.

He suggested that if we do this again, we use the level to hang the paper instead of having to redraw each line.  Always thinking that one.  🙂

Then I nailed right through the paper.  So much easier than what I was trying to do before.  When I was done, I just tore the paper off.  I was a bit worried that the nails would come out with the paper, but they stayed put.  Here’s the point when I was really glad that I had traced all the way around the frames.  I was able to use the paper as a map to show me which frame went where.

And here’s the completed collage the next day.  I am really happy with how it turned out, though looking at this photo I can see that some of the frames aren’t quite level.  Michael marked the lines with a sharpie and it was a bit thick.  Next time I’ll use a pencil.  I do wish I had taken the time to do this the first time because now I have pencil lines and nail holes all over that wall.  🙂

By the way, the big 8×10 in the middle was done by the amazingly talented Libby of LibbyAnn Photography.  If you’re thinking of splurging on some pictures, I totally recommend her.

Tzatziki!

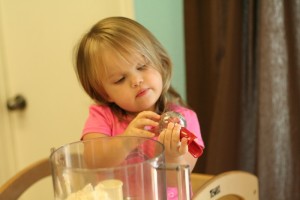
We’ve been getting tons of cucumber with our CSAs so I decided to try to make some tzatziki.  It seemed easy enough, although the recipe had fairly vague directions.  Kate and I decided we were up to the challenge.

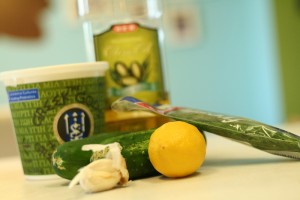
First we gathered our ingredients which involved a trip to HEB.  We were hoping to buy a dill plant, but we had to settle for some clippings.

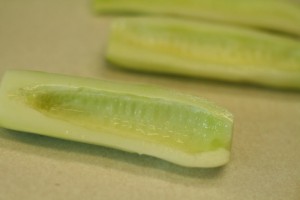
Next up we had to hollow out the cucumber.  Kate got a bit bored with the prep work and wondered off to play in her ball pit.

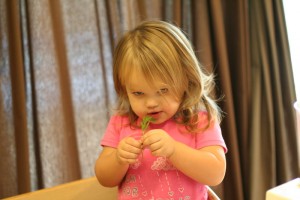
I lured Kate back into the learning tower by offering to let her smell the dill.  She loves to smell stuff.  I think she would have shoved it up her nose if I had let her.

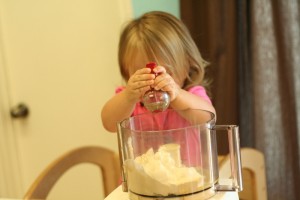
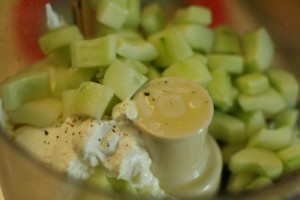
I let her try to crack some pepper in to the food processer and she thought it was awesome.  I think Kate’s definition of “to taste” is a little different from the rest of us.  🙂

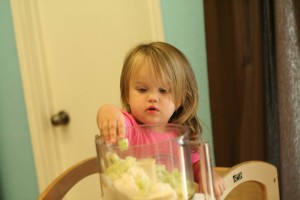
I let her throw in the cucumbers and it was time to blend.  She left the room for this part because, although she is fearless about most things, loud noises scare her.

Kate gave it too thumbs up!  Side note: apparently dill is spicy.  Who knew.  I just kept throwing it in there assuming that since it didn’t have a strong smell it wouldn’t have a strong flavor.  Whoops.

I freely admit that I let her stick her fingers in the dip and lick it off because I thought it made a great picture.


More Project Life Fun!

I am seriously amazed that I have managed to keep up with Project Life for this long.  I was worried that I would get super behind and then be unable to come up with pictures or journaling for the days I’ve missed, but so far so good!  I’m not going to lie, there are a few still life photos in there that I’ve fudged after the fact, but I have a photo *representing* each day even if it might not have been taken that day.

A few things that have helped me keep up:

1. I use pictures that my husband and I take on our iPhones.  I take a ton of pictures with Michael’s DSLR, but even I don’t take photos every day with it (as evidenced by Kate’s blog, whoops.)  I don’t carry the giant DSLR camera everywhere, but I do have my phone pretty much everywhere.  Plus, taking a photo in the fabric store with your DSLR?  Not super discrete.  Snapping a quick photo with your phone?  Easy pretty much anywhere.  I love that these photos represent our everyday life.  I even went so far as to take a picture of our groceries out on the conveyer belt at HEB.  That will be neat to look back on it 10 years.

2.  I keep Project Life in its box on our kitchen table.  Michael works from home, which is awesome by the way, but since we share an office it means that I can’t get into my crafting area during Kate’s nap.  Since I keep Project Life out in the kitchen, I can work on it if when Kate naps.  My favorite thing to do though, is to work on it while Kate is doing stickers at the table with me.  She is crazy about stickers.

Oh, and a sticker tip.  Kate loves foam stickers, but the paper backings used to drive me nuts.  Now I give Kate a bowl for trash and she happily keeps all of her trash contained.  I thought it was going to take some time to get her to use the bowl correctly, but she took to it right away.  Sometimes I don’t think we give kids enough credit.

Beads!

First off, Michael pointed out to me that the thank you notes were totally his idea and that’s why he was having her do handprints in the first place.  Whoops.  I guess great minds think alike.  🙂

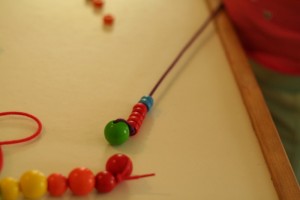
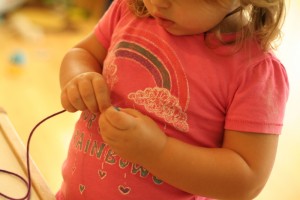
On to today’s post.  Now, I realize that there is really nothing handmade about this activity, but it’s one of Kate’s favorite things so I thought I would showcase it here.  A few months ago we got her a wooden bead set by Haba.  (Incidentally, I love all things Haba.)  I thought that she would be too young for it just yet, but man has she proved me wrong.

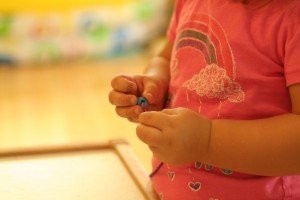
I love how she gets this look of intense concentration when she’s threading the beads.  She chooses to play with this everyday.  She can’t do the big animal beads quite yet, but she totally rocks the other ones.

This activity works *way* better at her little table than at the high chair because her little table has a lip that runs along the edge.  Also, we were all happier once I tied a bead to the end of the string so that they weren’t all falling off the bottom all the time.  Duh.

Thank You Notes

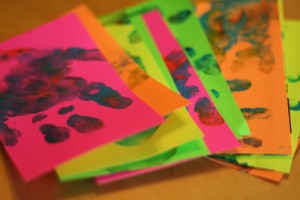
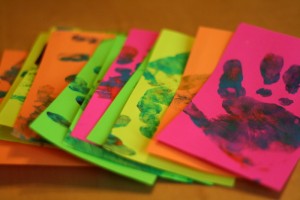
Kate loves to fingerpaint and she especially loves doing “Kate’s hand!”  Yes, my daughter frequently refers to herself in the 3rd person.  Well, Michael had her making stamps of her hand on some index cards yesterday and I realized that they would make really cute thank you notes for her birthday gifts.

I had him help her make up a bunch and then I wrote notes on the backs this morning after they were dry.  I think it turned out cute!


Another CSA!

So we decided that one box of yummy veggies every other week was just not enough for us.  That’s right folks, we signed up for another CSA.  This time we went with Johnson’s Backyard Garden.  Don’t get us wrong, we are still loving Farmhouse Delivery, we just thought, why not try something different too?

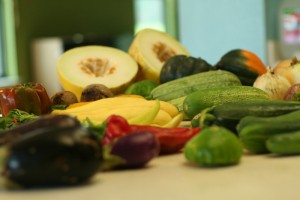
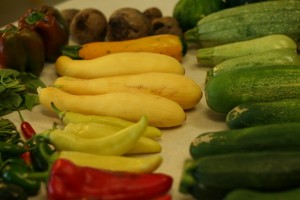
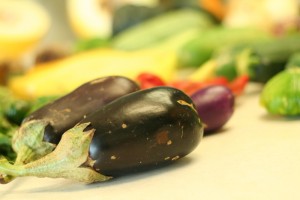
Johnson’s Backyard Garden is more of a true CSA in that it’s one family farm.  It seems like we get more food with Johnson’s, but more variety with Farmhouse.  (Michael disagrees with this, but I still think we get more fruit with Farmhouse.  That may be because I’m not a melon fan and that’s what we got with Johnson’s.)  We got a ton of squash, a melon, a bunch of peppers, eggplant, cucumbers, garlic, onions, beats, mint, basil, and I think some other stuff that I’m forgetting.  It was seriously a ton of food.

Johnson’s will deliver, but there is an extra charge.  Plus, apparently their delivery route was full so we pick ours up at the Round Rock farmers’ market.  This was our first time at this farmer’s market and Kate really liked it.  It was hellishly hot, but Kate got a popsicle and all was right with the world.  The popsicles were *really* good.  Next time I’m getting one of my own.  🙂


20110707-111929.jpg

A Few Good Eggs

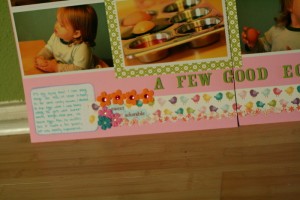
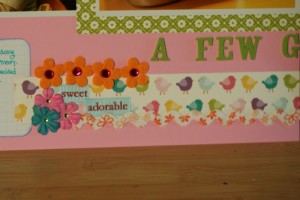
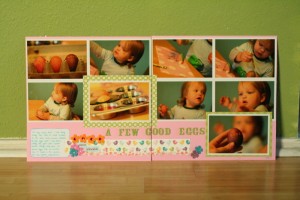
So remember when I decided to dye the easter eggs?  Yesterday I worked on the corresponding scrapbook page.  Now I’m not one to reinvent the wheel, so when I came up with a layout that I liked the other day I planned to use it again and again.  After all, there are only so many ways that you can arrange 9 4×6 photos in a 12X24 space.  This time I wanted to play with a layered look for the patterned paper strip.  I’ve been really drawn to this layered look for a long time, but haven’t been able to replicate it until now.  I’m liking it!

The “sweet” and “adorable” strips are actually bits of ribbon that I’ve had forever.  I can’t wait to play around with some more layering!  Maybe tonight.  🙂

Cupcakes!

So, Michael has the day off and it totally didn’t register that today’s a Monday and I should have a blog post up. Whoops!

Yesterday was Kate’s second birthday party and we had a great time celebrating with family and friends.

I would love to say that I made these cupcakes from scratch… That’s a lie. I was *thrilled* to pay a bakery to make these cupcakes. Kate asked for pink cupcakes and boy were they pink!

And here she is blowing out her candles. 🙂 You can see her gorgeous dress here that was a present from her aunt and uncle. Love! The plan is to have my awesome mimi help me trace a pattern from this one so that I can make some more. So cute!