Shanty Town

Michael and Kate turned the packaging from our new mattress (which is totally awesome by the way) into a shack awesome playhouse.  Michael says the secret to cardboard construction is this tape.  I must say, I was a bit skeptical when they first started, but the playhouse is fantastic. Kate loves it.

Michael drew her raptor logo on the facade, then we let her go to town with some markers.

She’s a big fan of the windows.  I expected her to destroy it within the hour, but she’s been happily playing with it for over a week.  Honestly, I’m shocked that it’s still standing.  That tape really is incredible.

More Felt Letters

I made another set of felt letters for a friend of mine a few weeks ago, but I haven’t gotten around to blogging about them yet.  Here’s a tutorial I did on how to make them.

I actually “made up” a new embroidery stitch.  I say made up because I am quite sure that I am not the first person to come up with the idea.  🙂  You can see it on the B and the R.  I really like it.
For the numbers, I put the same number of stars as the number.  (So 6 had 6 stars.)

It’s not too soon to think of Christmas.  🙂  I can probably only finish 2 or 3 sets in time for Santa to drop them off.  Those elves are just not as quick as they used to be.  If you would like a set, leave a comment or email me at highfiberfoods@gmail.com.  They are $2 per character.
 

Layered Scrapbook Page

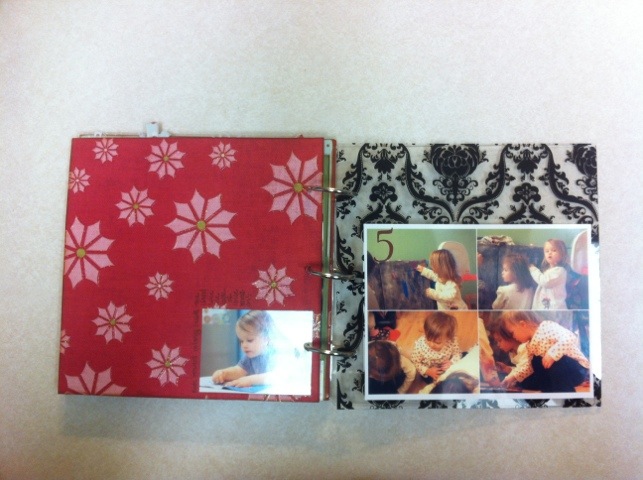
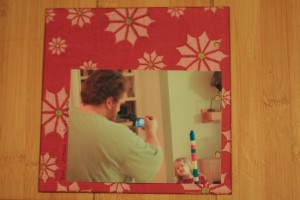
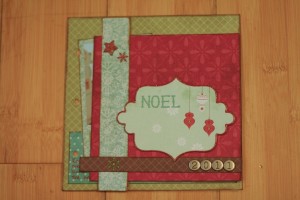
Yesterday was kind of a cheater post, so I decided to throw in a bonus post today.  Last night I made a scrapbook page inspired by the layering video.  All in all I was pretty happy with it!  The best part?  I was looking through some old paper to make something for Kate (more on that later) and I “discovered” my stash from last summer.  Cute stuff!  And I’m not sick of it anymore.  🙂
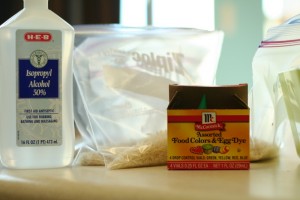
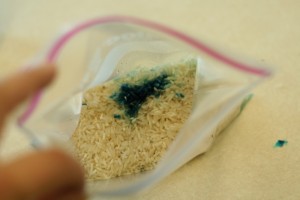
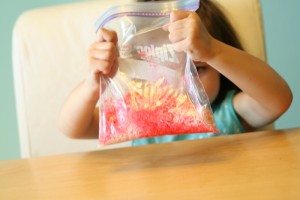
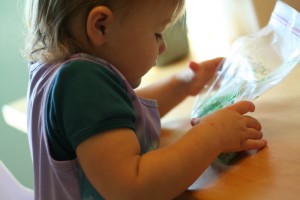
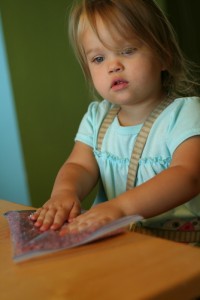
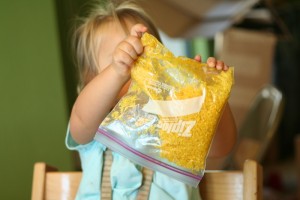
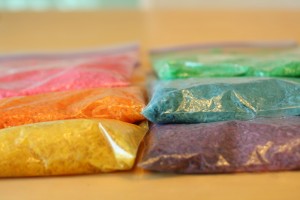
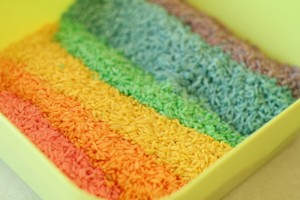
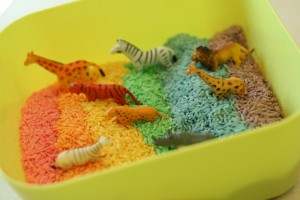
These are the pictures from our rice sensory box.  I decided to put 6 of the pictures along the edges and then treat the middle part as a single 12×12 page for design purposes.  I think it turned out quite nice!

I inked all of the edges before adhering them to give the layers a bit of pop.  I think next time I’ll add even more layers, but I didn’t want to overdo it right out of the gate.

I made a really simple title with some letter stickers, some rubons and a scrap of paper.


Fun Link

I had grand plans of writing an awesome blog post while Kate napped, but instead I have been sucked into this blog.  She has some awesome videos.  I think I’m going to try to make some layered scrapbook pages tonight.  🙂

Patches Part 2

Remember my travel backpack?  Well, after many false starts, I finally figured out a way to display the patches.

We have had these frames for years just sitting in our closet waiting for inspiration.  🙂  They came with a thick cardboard-type backing which I stapled some burlap to.  I really liked the texture it gave the project.

I was initially going to label all of the patches with the country and the rough date that I went there (month, year) but in the end I liked the way it looked better without.  Plus, I’m lazy.  🙂

I kept the patches roughly in order, all of the patches from one frame come before the next, but within each frame I moved them around however they looked best.  That last frame looks a bit bare, I guess we had better plan another trip!  🙂

Canvases

So after our photo session with Libby, I decided to wallpaper my house with prints order a few canvases.  I decided to go with Canvas on Demand because they have lots of groupons and I’m cheap like that.  🙂  I was really pleased with the quality and turn around time.

The hardest part was choosing the pictures.  I wanted one of the 3 of us, but lets face it, Kate is *way* more photogenic than me.  🙂

This picture isn’t great, but it gives you an idea of the scale.  These canvases are 16×20.

I am so happy with the pictures and the canvases!  My goal now is to have family pictures taken every year.  If you are on the fence, it is so worth it.  It’s an investment, but one I am really glad that we made.

Volcano

So Kate’s friend Abby talks about volcanos all the time.  We’ve had to “evacuate” the stuffed animals on more than one occasion.  🙂  I decided it was high time we made a kitchen volcano.  A bit of quick googling netted me a recipe, though you could just as easily use vinegar and baking soda by themselves.  We, of course, modified it as we went.

First up, we didn’t make the actual volcano.  Who really has 2 cups of salt on hand anyway?  We made our volcano out of repurposed shipping materials.  Did I mention we have Amazon Prime?  Yeah, we order everything.  I used one of those starbucks bottles as the base and molded some packing paper around it.

Next we mixed up the water, baking soda, food coloring and dish soap.  I poured it into the volcano with the help of a funnel.  It was at this point that we ran into problems.  I went to get the giant jug of vinegar and it wasn’t in the pantry.  I checked the laundry room because I sometimes add it to a load of diapers, but it wasn’t there either.  Hmm…  Now we were in a pickle because Kate and Abby were expecting a volcano.  I checked the pantry again.  Well, we had some rice wine vinegar, surely that would work.

Abby got all excited but then we had this somewhat disappointing reaction.

I mean, technically it worked but it wasn’t very impressive.  More of a slow ooze than a fiery volcano.  Kate quickly demanded another project, so we did some stickers.

At about this point, Michael came out for lunch (he works from home) and decided that he was going to take a crack at the volcano construction.  The girls were thrilled.  He made a volcano out of old playdoh and filled it with baking soda.

At this point, he also went and found the regular vinegar.  It was in the linin closet from the last time we cleaned the bathroom.  Whoops.

He found an old baby advil syringe and used it to inject some food colored vinegar directly into the baking soda.

This was met with more approval, partly due to the fact that you could get several “eruptions” out of it by adding another syringe full of vinegar.  Still, I think I might be picking up some mentos at the store next time I go.  We can drop them in some diet coke and have some real fun.  I might have to get some teeny tiny safety goggles first.  🙂

Deadlines

I’m having a hard time finishing up a felt alphabet set, so I’ve given myself an incentive.  If I can finish it by Friday morning, I’m buying myself this awesome camera bag that I’ve been lusting after.  I’m not sure if it’s possible for me to finish by then, but I’m sure motivated now.  🙂


Soft Things

Kate and Michael walked to HEB this morning to get some craft supplies and they picked up these glittery pompoms which Kate called “soft things.”  Kate immediately wanted to “counting bears” them (sort them by color) so she went over and got her cups.  After I woke up, I showed her how to sort them into a muffin tin with a spoon.  I’ve seen this on tons of blogs so I’m not even trying to claim credit.  🙂

It’s pretty self-explanatory so I won’t bore you with details.  I will say that it kept Kate happily occupied for quite some time.

After she masters transferring the pompoms with the spoon, I plan on getting her some ice tongs from Goodwill.  Maybe eventually we’ll move up to trainer chopsticks.  🙂

Eventually she decided to expedite the process.  🙂


Allergy Free Bird Feeder

We’ve been on a project streak around here and today bird feeders were up on the list.  For some reason, I felt like we needed pinecones to do this (holdover from my early childhood on the coast?) but there are no pinecones up here so we had to improvise.  Michael had the awesome idea to use corn cobs as the base.  We got corn as part of our CSA last week so it worked out perfectly.

Step one- eat some tasty corn!  We were shooting for an allergy free project (Kate’s friend Emily is allergic to dairy, egg and nuts) so we roasted the corn with a touch of vegetable oil instead of putting butter on it.  It was super yummy.  🙂

Step 2- gather the ingredients.  We subbed sunbutter for peanut butter.  Incidentally, I tried so hard to make this allergy free, only to find out that the birdseed had egg in it.  Le sigh.  I had no idea that birdseed could have egg in it.  I was checking it for nuts.  You win some, you lose some.  We decided to do this project while Emily was napping to be on the safe side.

Step 3- we added honey to some sunbutter to make it stickier.  I feel like there are probably a million tutorials for this online, but we just kind of made it up as we went along.  🙂

Step 4- smear the sunbutter/ honey mixture onto the corn cobs.  The girls were a little hesitant about getting their hands dirty, but I assured them that we would wash our hands when we were done.

I believe Abby’s exact quote was, “Um, Christina, my hands are yucky.”  Fair enough.  🙂

I went ahead and smoothed the sunbutter down with a knife.  I think if we try something like this again I’ll get them little spatulas.

Step 5- coat in birdseed.  The girls had pretty much lost interest at this point so I went ahead and rolled the corn cobs in the birdseed.  Michael put a screw in the top of each one and I tied a ribbon loop to it.  It turned out pretty cute even if the girls weren’t so into the process.

I hung the birdfeeder outside and we eagerly awaited some birds.  This morning when we woke up it was gone.  There was nothing but the screw and some ribbon left.  Either it got windier than I thought last night or something decided it looked mighty tasty and carried it off for a midnight snack.  Overall, this was a pretty fun project though it would be better suited to kids who like to get dirty.  🙂