Felt Heart Banner Tutorial

Kate and I are hosting a special Valentine’s Day party for our playgroup.  I have a bit of a tendency to go overboard with the planning of these things, but I sometimes lack follow through.  🙂  This time I actually managed to finish one of my planned projects!  It’s a felt heart banner based on this tutorial from, where else, Pinterest.

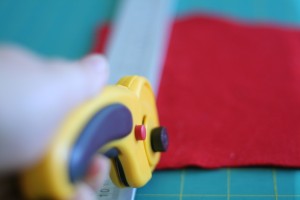
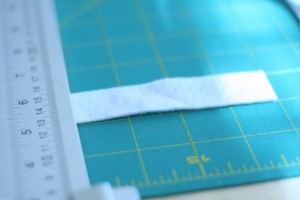
Of course I had to change it up a bit.  🙂  I started off by cutting some felt into strips 1 inch wide and 4 inches long.


Such pretty little felt. 🙂


I didn’t end up having enough red, so I decided to make red squares in between the hearts instead of red hearts.

I sewed pairs of red squares together to give them a bit more definition.  Then I started on the hearts.  First stitch 2 strips together.  Then open them up and stitch the bottoms.  Voila!  Hearts.

The tutorial has you sew all of the hearts before cutting them down to 1 inch wide.  In retrospect, that might have been easier.  🙂

I spent forever stitching the hearts together in a chain.  I tied the thread off at one edge of the first heart, ran it through the red square and then tied it off at the edge of the second heart.  I was pretty proud of myself for doing it this way because it kept there from being a thread through the center of the heart.  Of course I was only proud of myself until I tried to hang it.

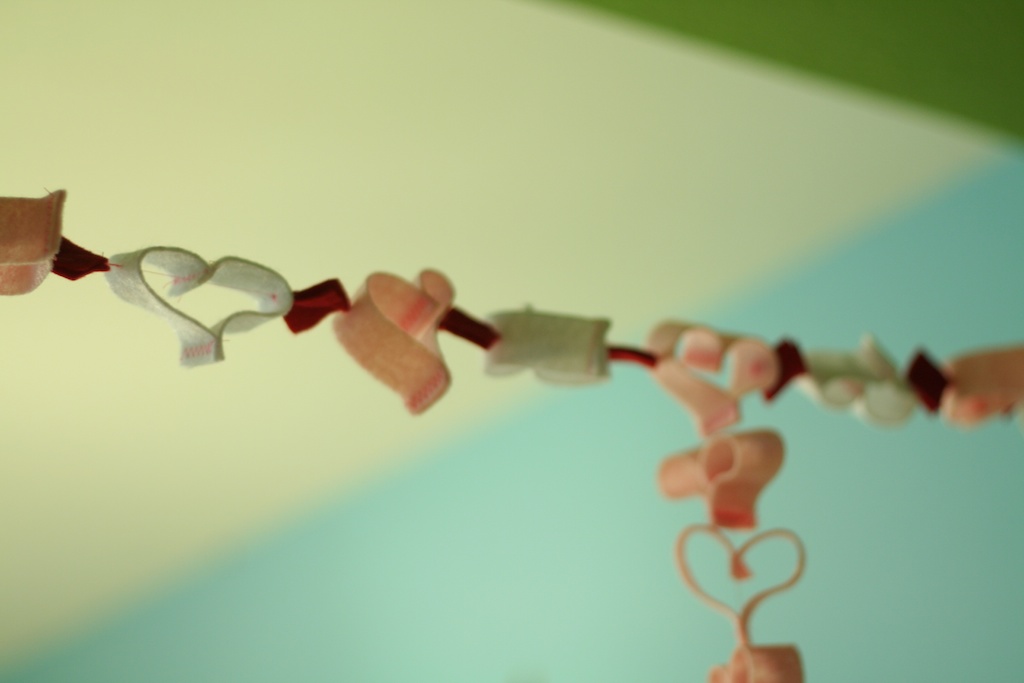
Then I noticed that the weight of the hearts was causing them to flatten and look idiotic.  ::sigh::  I took it back down and strung the hearts like beads.  Much quicker and with the added advantage of not pulling the hearts flat.

You can hardly tell that the thread is there anyway.  I should have done it this way from the beginning!  The hearts are kind of wonky and turned in different directions, but I like it that way.  It seems more playful and less Martha Stewart.  Perfect for a playgroup.

I had some extra hearts so I added them hanging down from the banner.  All in all, I think it turned out super cute!
Taggie Blanket Tutorial

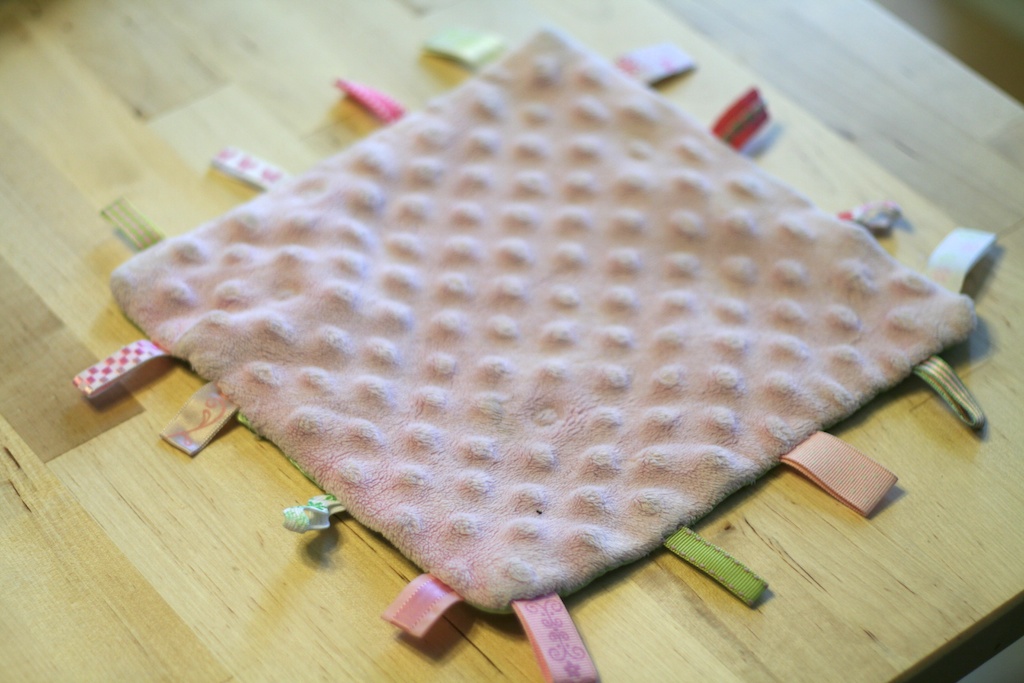
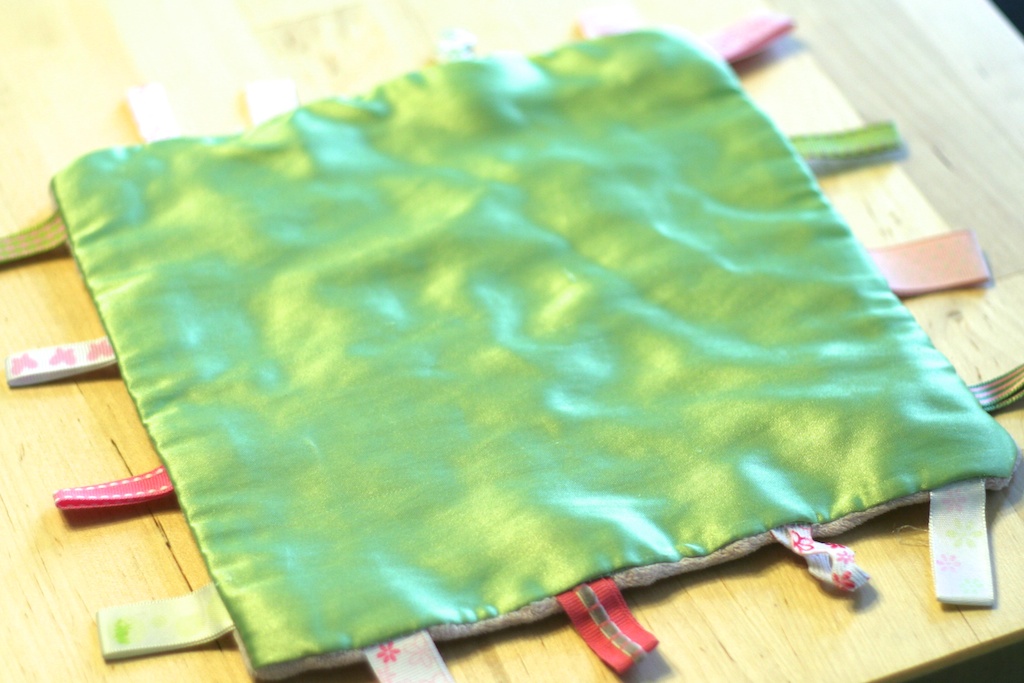
When I was pregnant with Kate (a million years ago!) I saw some homemade knock off taggie blankets in a cloth diaper store and I thought, I can make that.  🙂  It took a bit to figure out, (especially because it was pretty much the first thing I had ever sewn other than a scrapbook page) but I ended up pretty pleased with the result.  Kate sleeps with it every night.  In fact, it’s the blanket for her special bear, Boris (long story.)

It should become quite apparent at this point that I was *not* a sewer when I picked these materials.  Both of these are a bit difficult to sew (understatement!) but the different textures are fun for babies.  What compelled me to put these on the blog after all this time?  Well, my awesome sister-in-law is pregnant with twin boys (so excited for her!) and I wanted to add something homemade to her baby shower gift so I decided to make 2 of these.


Initially, I wanted to make them coordinating and not identical (which is how their mom plans to dress them) but them I found this brown satin and blue minky.

After I found this awesome ribbon (that matched perfectly!), and I knew I had to use it.  Since I didn’t have it in green and I bought it forever ago, I decided that identical blankets would be the way to go.

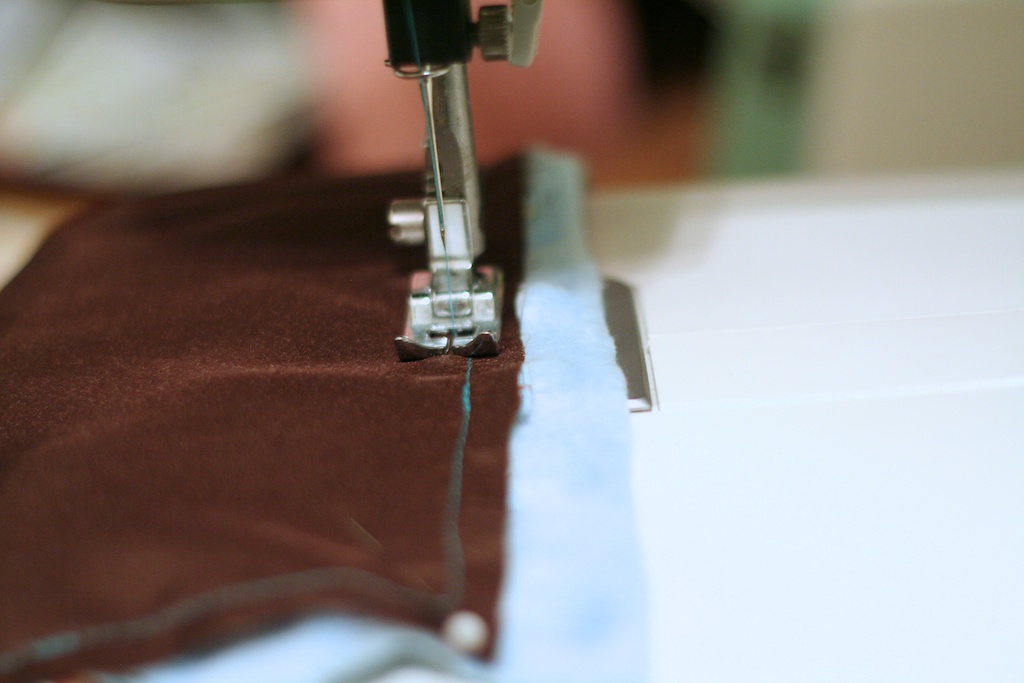
I cut the ribbon in maybe 3 inch strips, folded it in half and pinned them to the satin loops facing in.  Don’t pin it to the minky!  It’s way too stretchy, trust me.

I went with 3 ribbon loops across instead of 4 this time.  When you use 4, they have a tendency to get caught up in the corner seams.  3 is *much* better.  Trust me.


Stich once around the satin to catch all of the ribbon loops.  I like to backstitch over them to make sure that the ribbon won’t be pulled out as the baby plays with it.

Once you’ve gone all the way around the satin, pin it to the minky right sides together and stitch around again.  The minky will stretch out and get all out of shape, but that’s ok.  Just use your satin as the guide and your final blanket will be square.

Leave a little spot to turn the blanket right side out and then hand stitch it closed.  I’m pretty lazy with the hand stitching, so I only leave about an inch, maybe an inch and a half.  I don’t have a picture of the blue ones, because I finished them right before the shower and forgot!  Trust me though, they turned out really cute.  🙂  I’ll leave you with a picture of Kate’s instead.

After 2 1/2 years, it’s a little worse for wear, but I think it’s held up surprisingly well.  Her’s is pink minky on one side and this green satiny stuff on the other side.

Brings back memories!


Goals Update!

Let’s see how I did, shall we?

1.  Lose 4 pounds.  Hot damn y’all, I did it.  I started the month off at -17 and ended it at -22!  Now I just need to keep the momentum going.  Let’s say another 4 pounds for February.

2.  Work out twice a week.  Um, yeah no.  I think I worked out twice in the month of January.  Might have to carry that goal over.

3.  Update the blog 3 times a week.  Success!  I need to get my buffer built back up, but I have a lot of cool things in the works.  Stay tuned!

4.  Finish December Daily.  I did it!  So glad it’s done and I’m loving how it turned out.

5.  Make 4 new mama crafts.  Hmm…  I made a skirt, an apron, some taggie blankets for a gift (more on that next week) and several scrapbook pages.  OK, so I made the skirt on December 31st, but that still counts, right?  RIGHT?  Umm…  I have a lot of other projects that are half done.  Need to get them finished.  🙂

6.  Cook 2 dinners.  Done!  One was even edible!  I think I might have to break up with my crock pot though.

7.  Do 4 new Kate projects.  Let’s see.  The cloud dough and water beads were our only big projects, but we also did lots of stickers, playdoh, cookie decorating and a pretty cool field trip.  I need to get more intentional about this though.

8.  Plan 4 date nights.  I managed to do 3 which would be pretty good if Michael hadn’t totally shown me up.  🙂  He orchestrated a Kate/ grandma sleepover, ordered me a gorgeous new dress and picked a great new spot for dinner.  My husband’s the best.  Might need to step it up next month.  😉

9.  Order and Edit December Pictures.  Done and done.  Now, there was a bit of an issue with the pictures for Project Life (they’ll have to be reprinted ::sad face::) but Shutterfly was totally awesome and issued me a print credit even though it was probably my fault.  I just need to sit down and resize them all/ reorder them.

10.  Walk Ninja daily.  Poor ninja.  She always gets the short end of the stick.  She has been getting more walks, but still not daily ones.  Before Kate was born, she used to get TWO walks a day, I should be able to make one happen.

11.  Clean up my bedroom.  We did it!  Of course, it’s starting to look a bit pit-like again what with the piles of laundry that need to be folded, but underneath it’s clean.  Like we threw away/ donated to Goodwill trash bags full of stuff.  It was super cathartic.

12.  Write thank you notes.  Done and done!