I decided to move some stuff around in the living room and put all of my canvases on the same wall. The plan is that eventually, there will be 9 canvases. 🙂
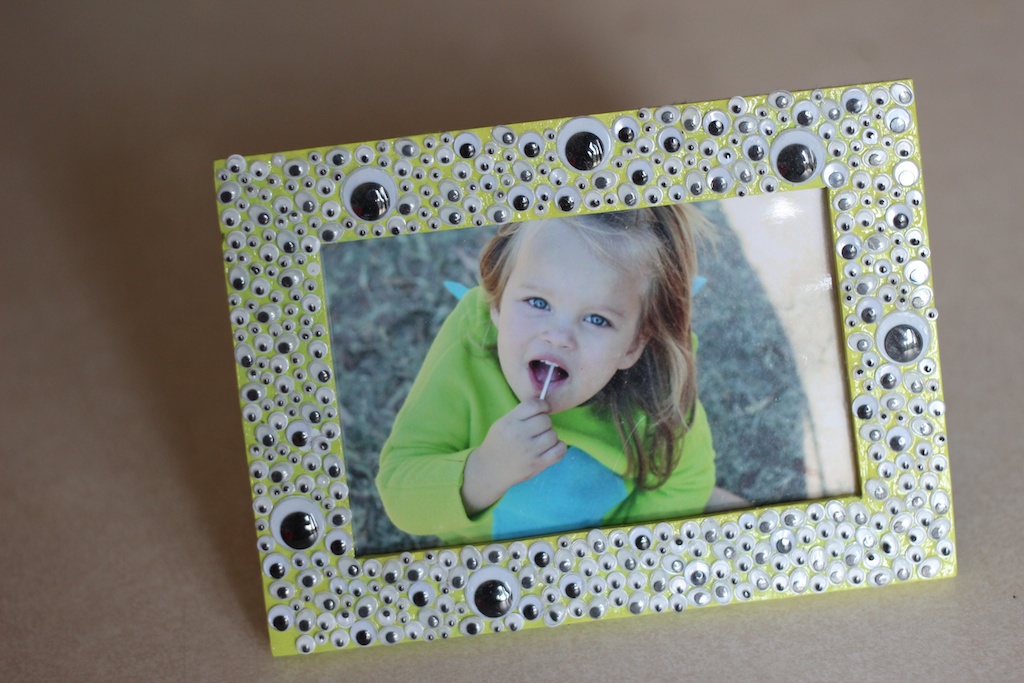
Googly Eye Picture Frame
I actually made this project last year, but I didn’t get the picture printed until after Halloween so I’m posting it now. 🙂 It is, of course, from Pinterest.
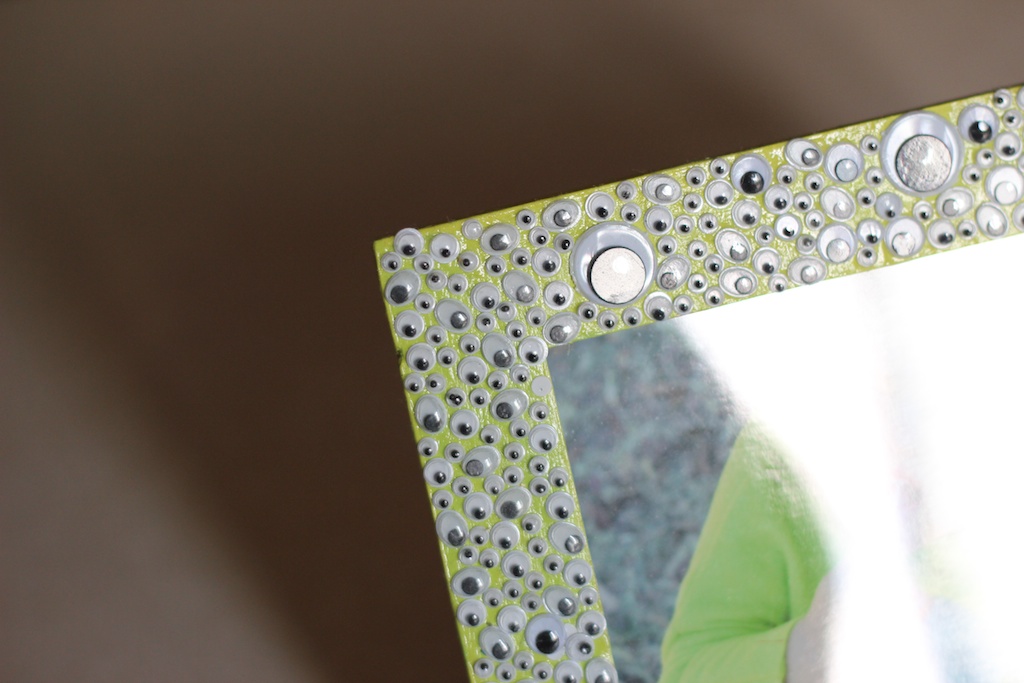
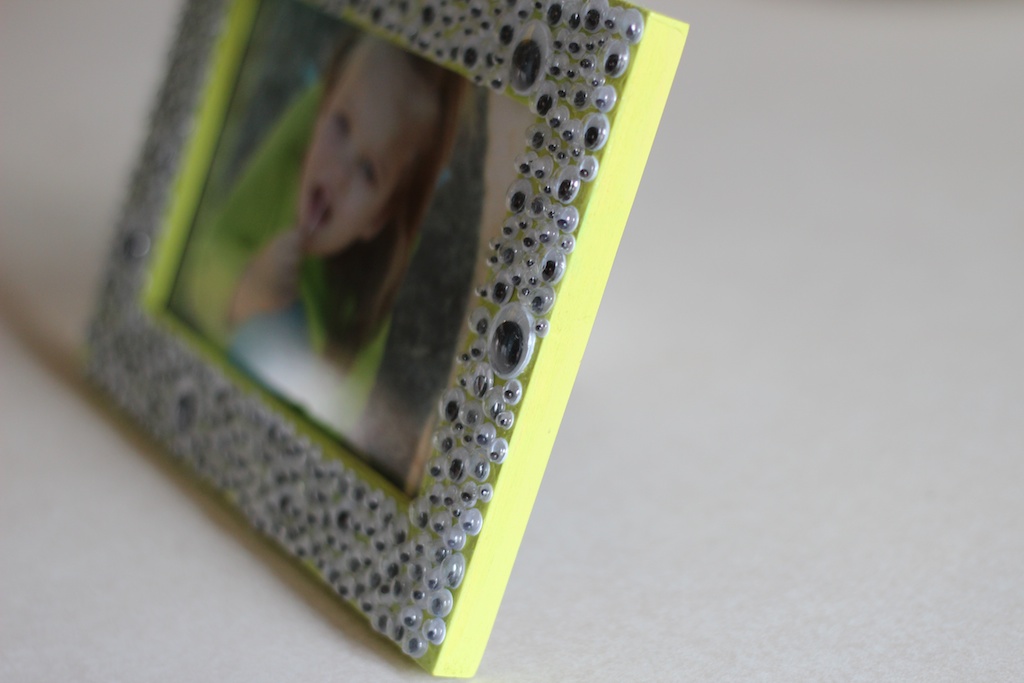
Basically, I took a cheap Ikea picture frame and painted it bright green. Then I glued down a ton of googly eyes with mod podge.
Incidentally, it takes way longer and uses way more googly eyes than you expect it to. 🙂
Still, I think it turned out cute and it’s not difficult, just time consuming. 🙂 I debated adding some ribbon and letters like in the example, but it didn’t look right with this thinner frame so I left it off.
Spin Art
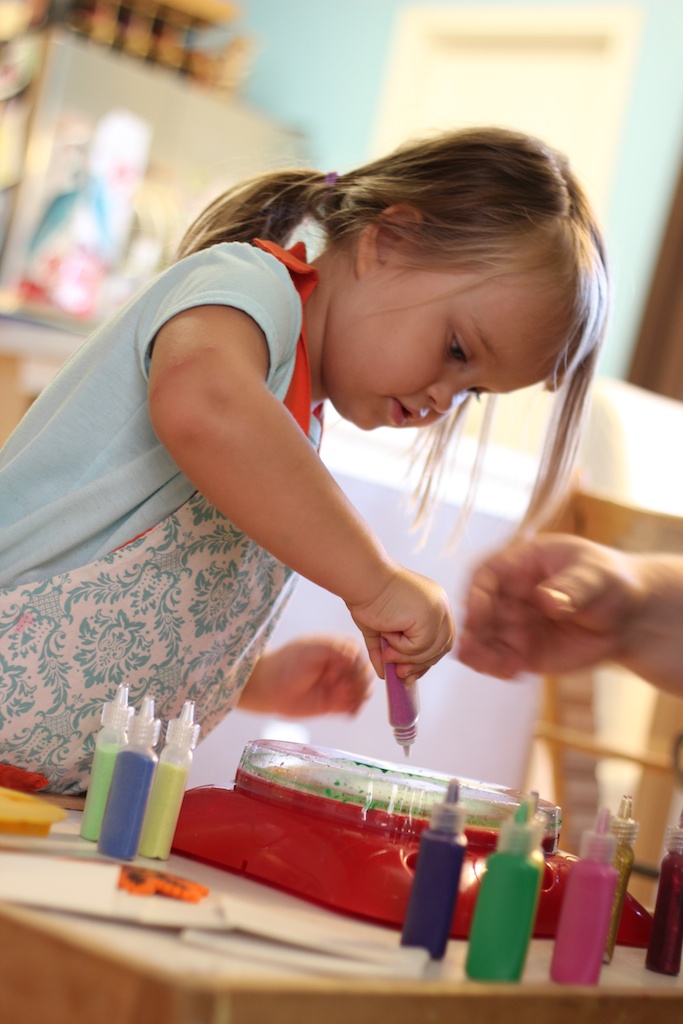
Michael had the day off from work today so we headed up to Hobby Lobby to look around for a fun project to work on. We ended up buying a spin art machine. How fun is that?!? I totally remember playing with one of these as a kid.
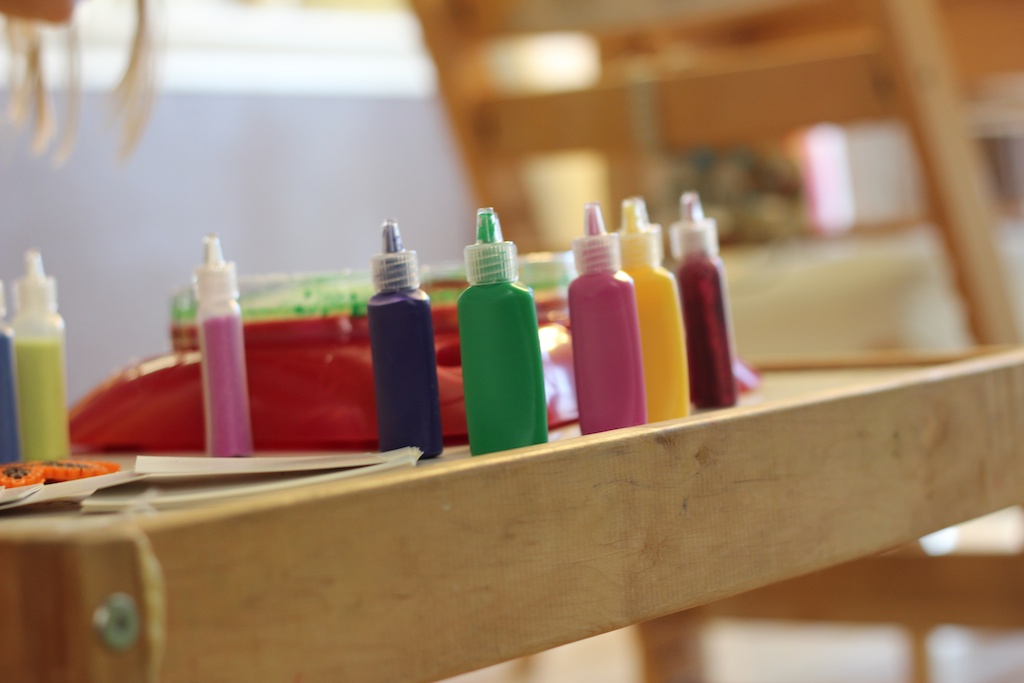
This one came with some paper and tiny containers of paint, sand and glitter.
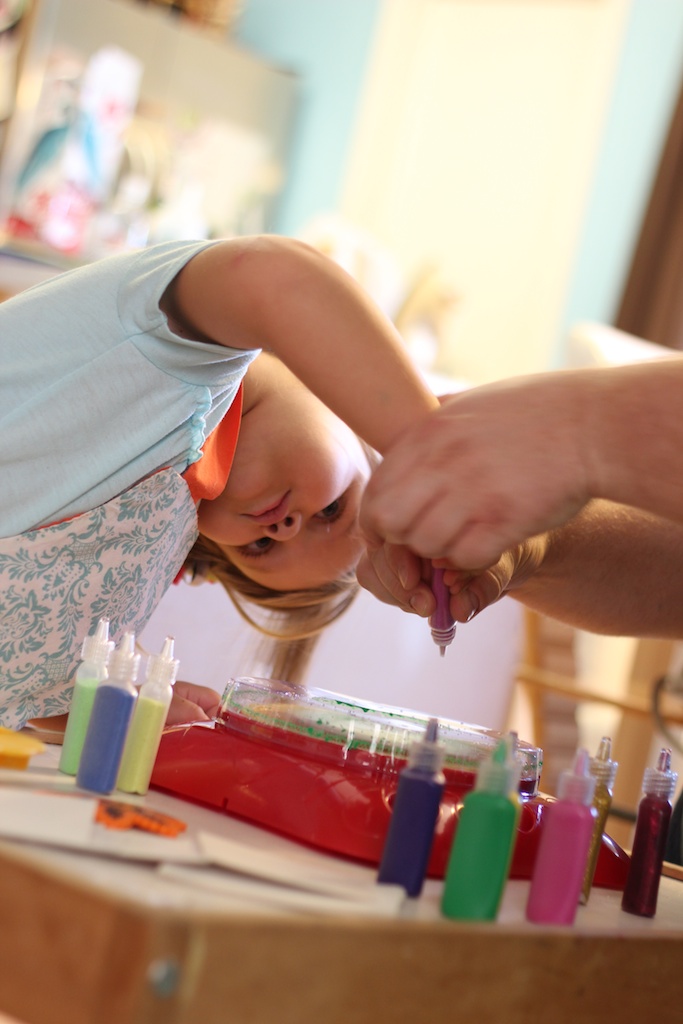
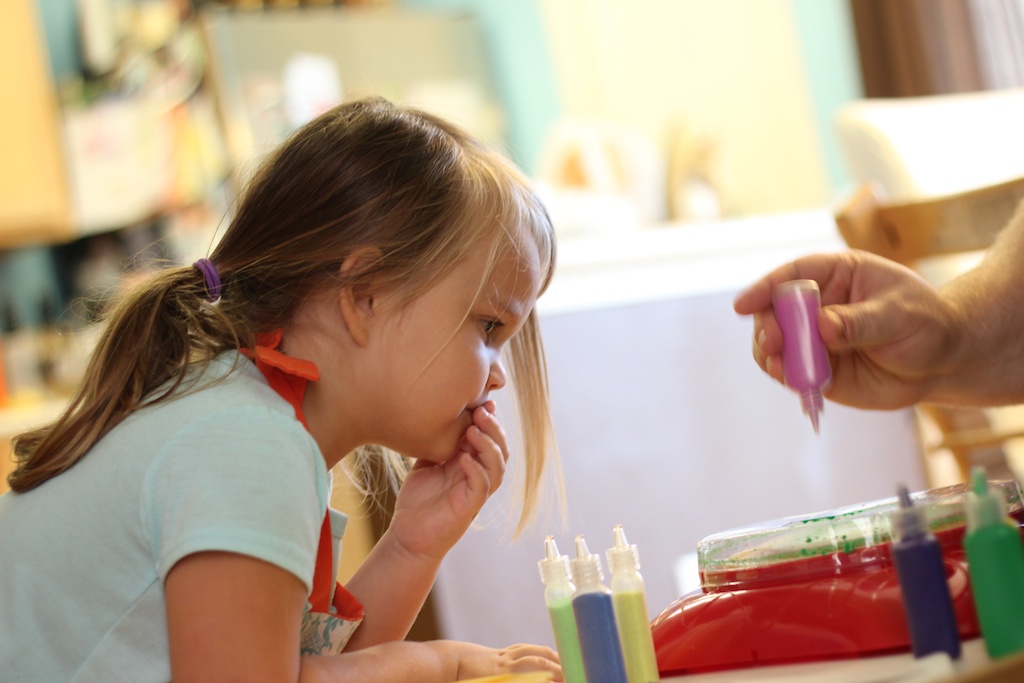
We had a blast playing with this. I love crafty activities that the whole family gets into. 🙂
It made a huge mess, but it was worth it.
The sand kind of went everywhere so Kate ended up wearing Michael’s safety goggles. So cute!
More Vinegar and Baking Soda
Kate loves playing with vinegar and baking soda. Generally I fill up a baking pan with baking soda and than fill up a muffin tin with different colors of vinegar. Today I decided to mix it up a little.
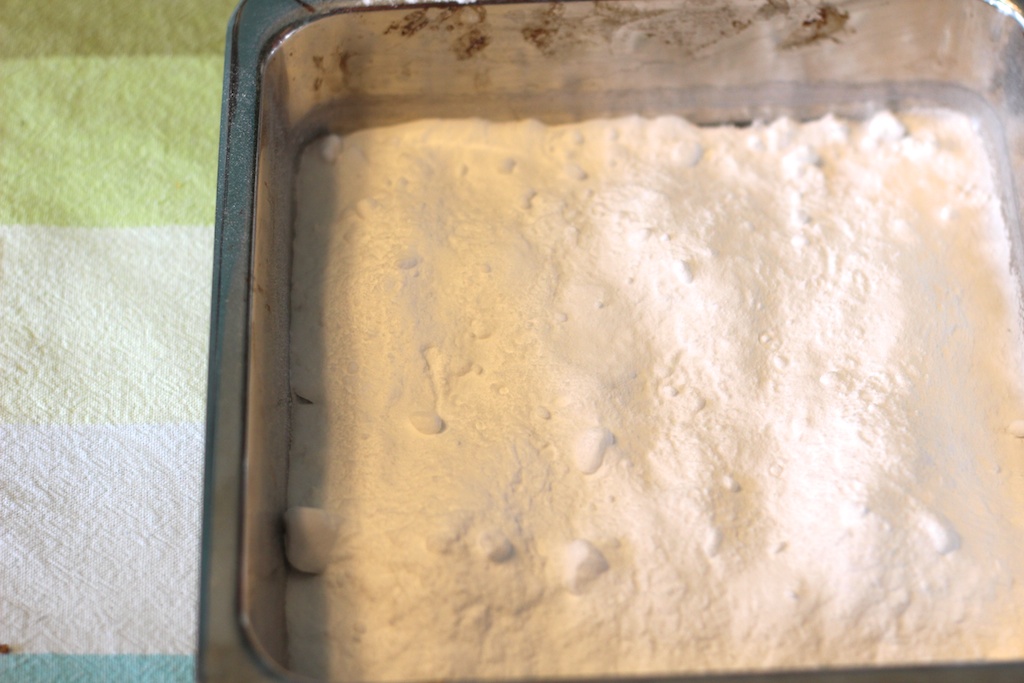
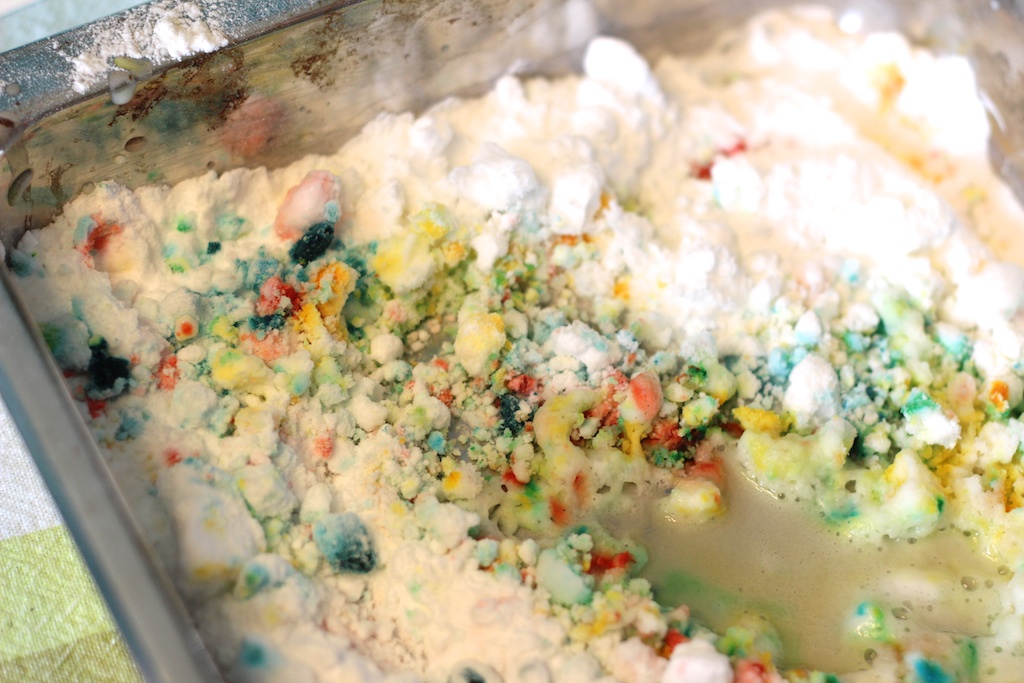
First I spread a layer of baking soda in the pan and then I added a bunch of drops of food coloring to it.
I then put another thin layer of baking soda over the top and told Kate that we were going to hunt for treasures!
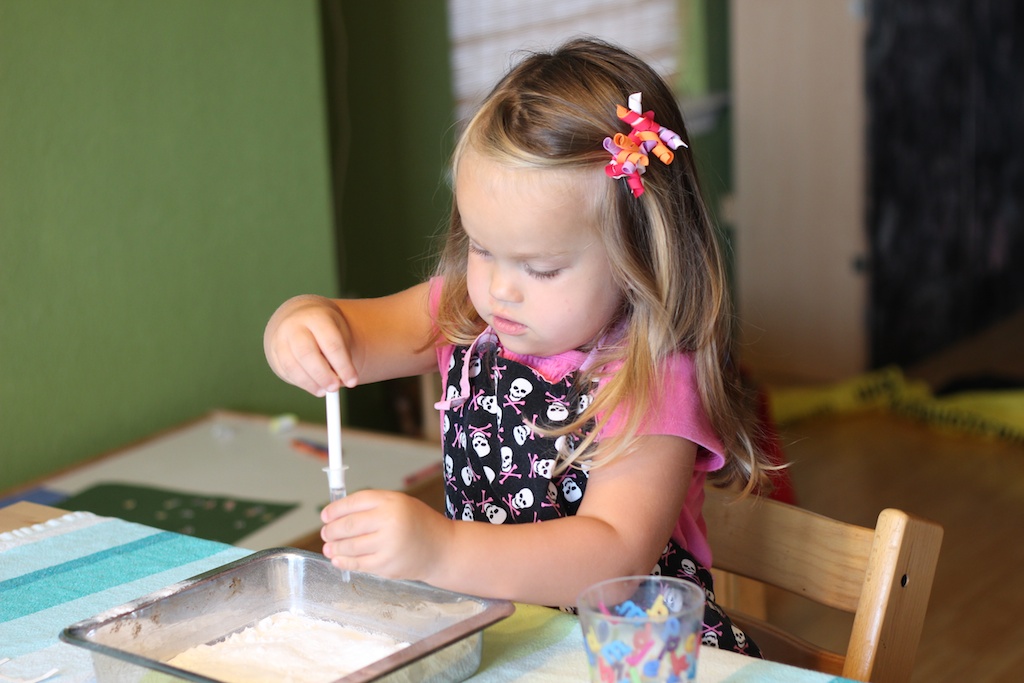
I gave her a medicine dropper and a cup full of plain vinegar and told her to go to town.
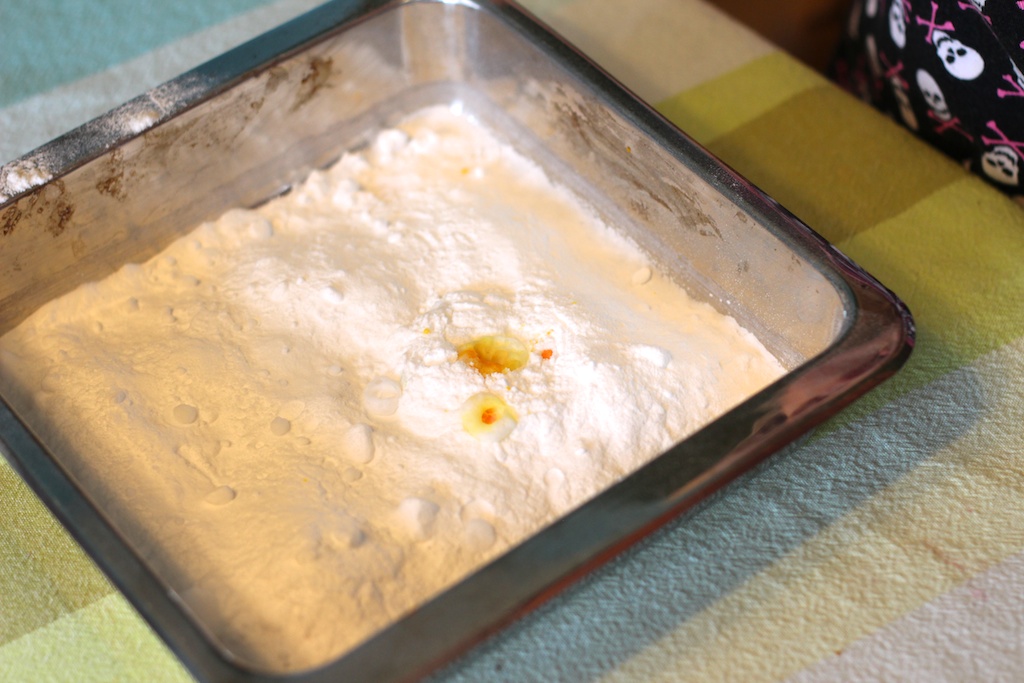
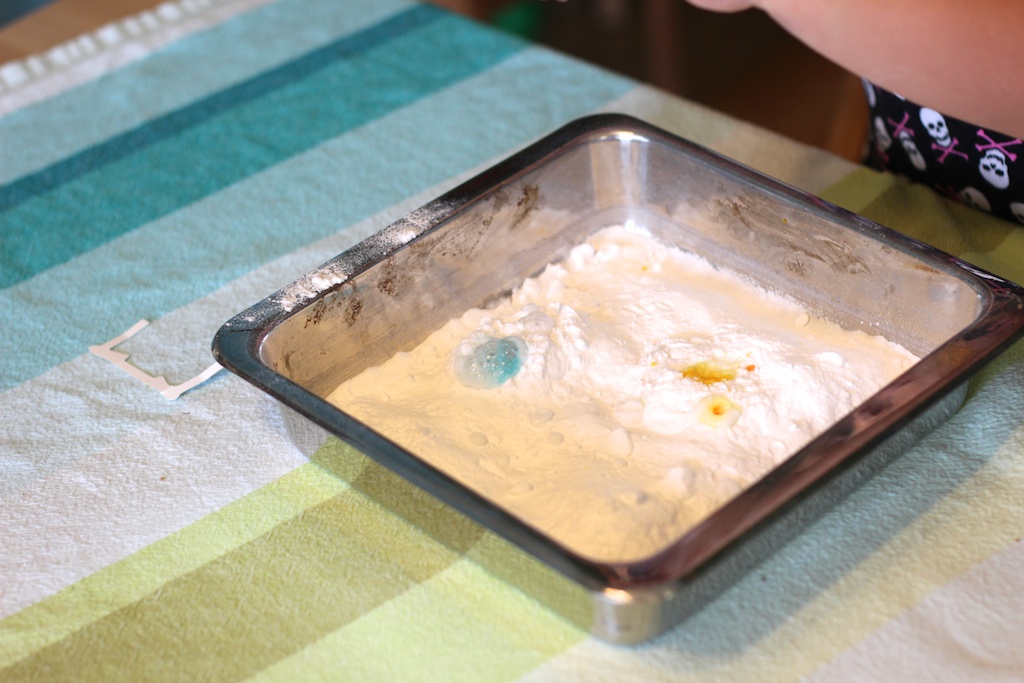
She thought it was really neat to see the different colors show up when the vinegar hit a pocket of food coloring.
She had a fun time, but then asked for “regular” baking soda and vinegar. I think she prefers to pick her own colors instead of them being a surprise. Little bit of a control freak, this one. 🙂
Pumpkin Stamping
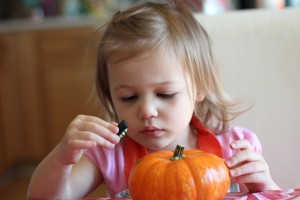
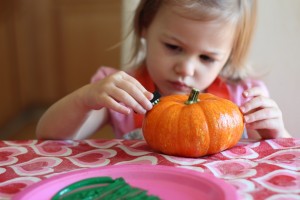
Kate and Emily were at preschool while I made my pumpkin, but they spied the other pumpkins and demanded to make their own crafts. 🙂
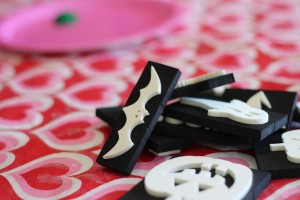
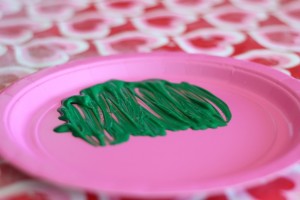
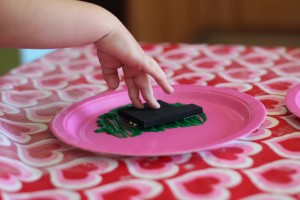
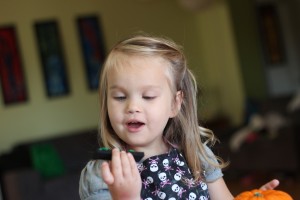
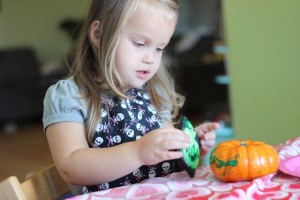
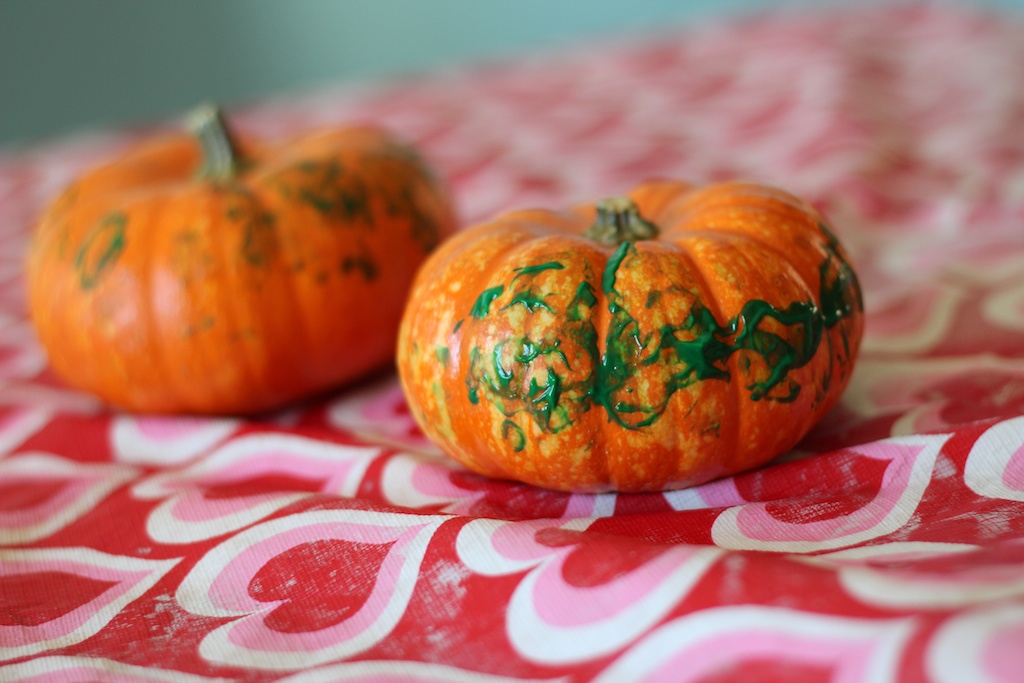
So after nap I pulled out some green paint and some foam Halloween stamps. Kate was horrified that I wouldn’t get her pink paint, but she came around eventually.
I spread the paint out in a thin layer so that it would be easier to stamp and let the girls go to town.
The upside of this method was that it was remarkable unmessy for a painting activity.
The downside is that the stamps totally don’t show up because the pumpkin is curved.
The girls loved the novelty of stamping on the pumpkins, but this would obviously work better on paper if you want the actually stamps to show. We might try that next week.
Still, the girls were thrilled and that’s what matters to me. 🙂
Ribbon Pumpkin Tutorial
Halloween is seriously my favorite holiday. So we’re going to get started with the halloween crafts a little early, m’kay? Just be glad that I waited until September was halfway over to start. (I’ve been pinning stuff since mid August.)
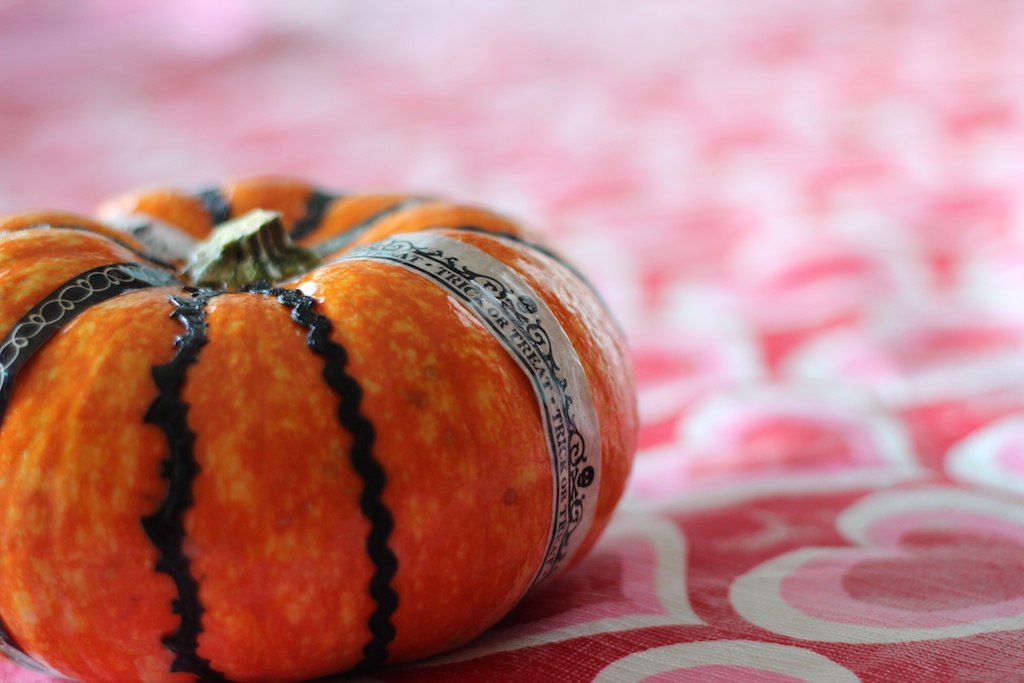
First up is a ribbon pumpkin from Pinterest. The original had you hot gluing ribbon on the pumpkins, but I decided to go with mod podge instead.
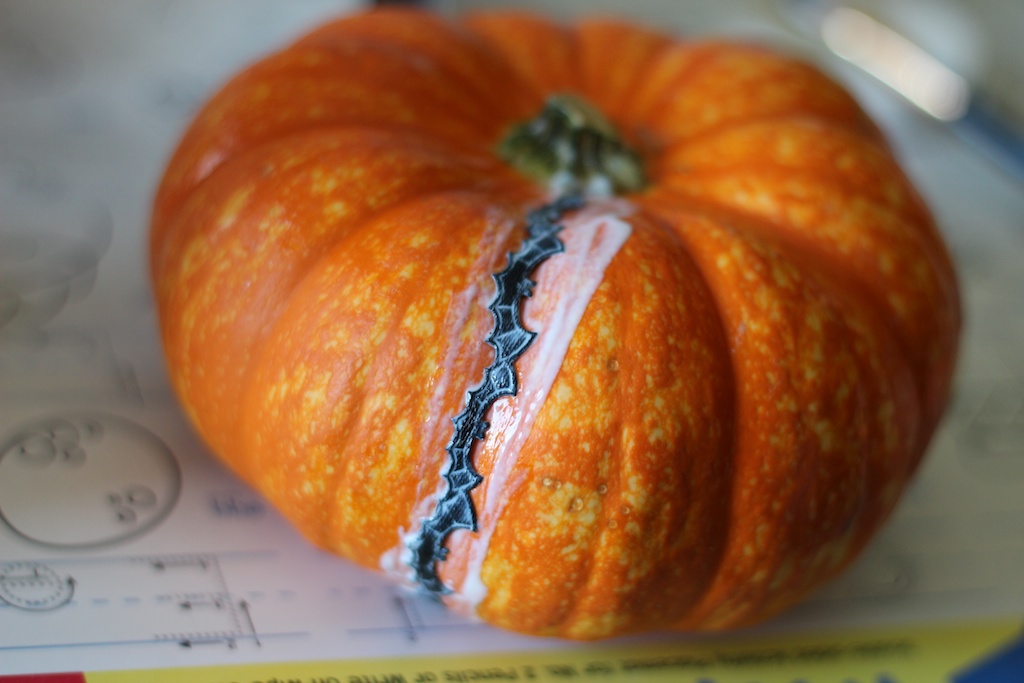
I found these cute tiny little pumpkins at HEB and I couldn’t resist. I knew they would be perfect for this project. I had a tiny bit of bat trim left over from 2 years ago (I think it was Making Memories?) and I bought some black ricrack and Martha Stewart washi tape from Joannes. Honestly, I was hoping to find more black trims at Joannes, but I had to settle for the washi tape instead.
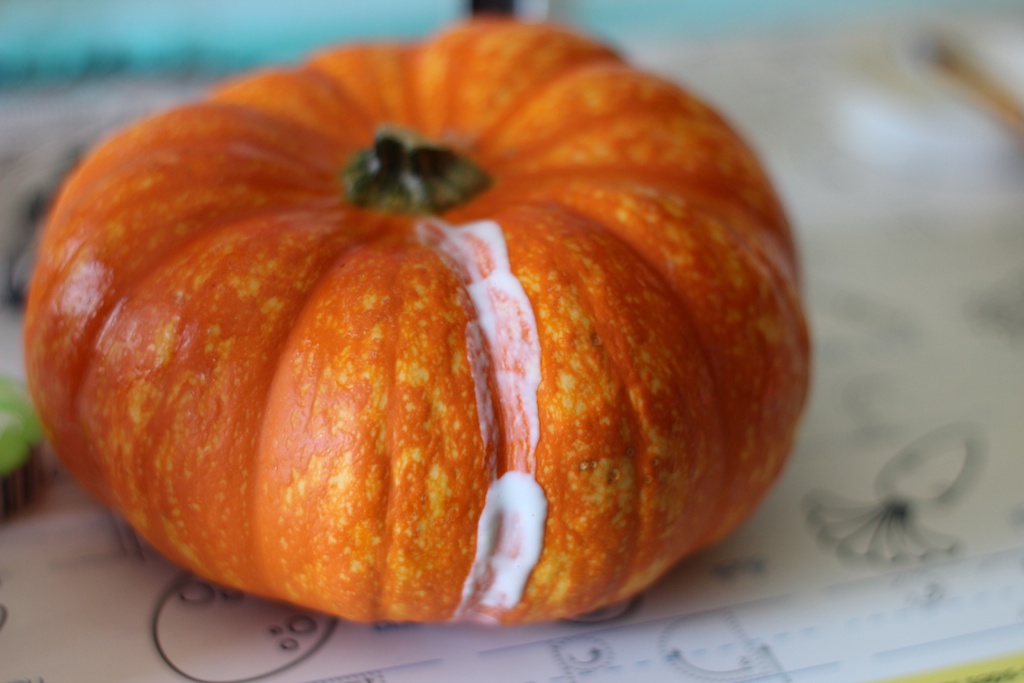
I painted a strip of mod podge on the pumpkin and then set the first piece of trim in one of the grooves.
Then I painted more mod podge over the top. Side note: I love mod podge. It is seriously stinky, but it’s awesome.
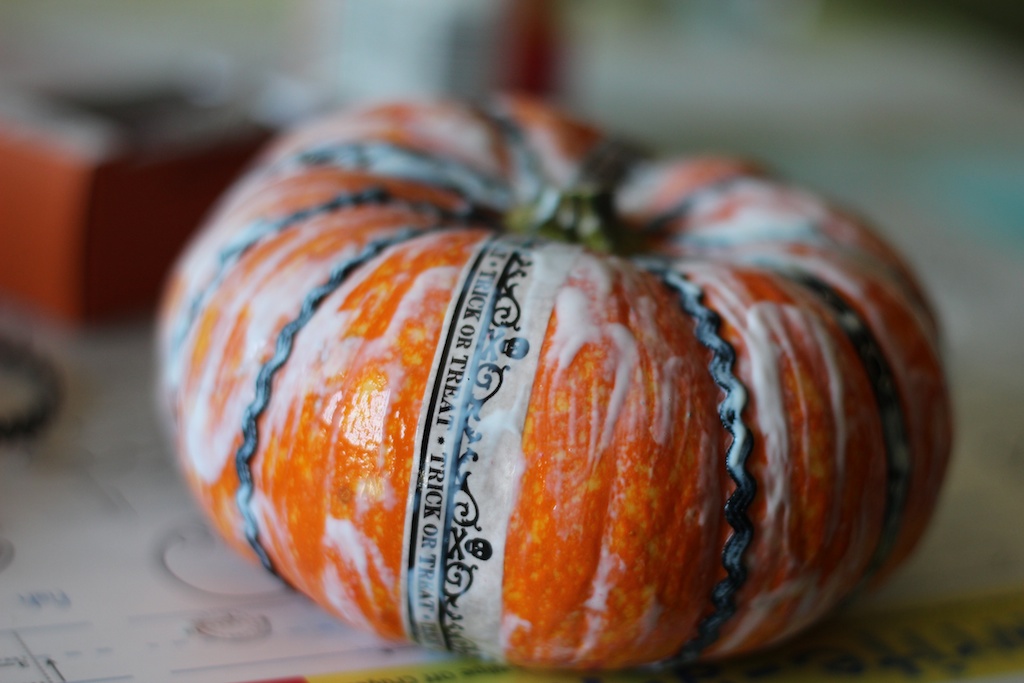
After the bats, I added the ricrack.
Then I added the washi tape and painted a coat of mod podge over the entire pumpkin. The trim worked a lot better than the washi tape, but I’m still pleased with the look of the pumpkin overall.
And yes, I use the Valentine’s Day table cloth as a crafting table cloth.
Clay
Kate and Michael bought some “real” clay this weekend. Michael set up his iPhone to make a time lapse video of us playing with it as a family. Kate particularly liked adding the water to it so she could make more of a mess. lol.
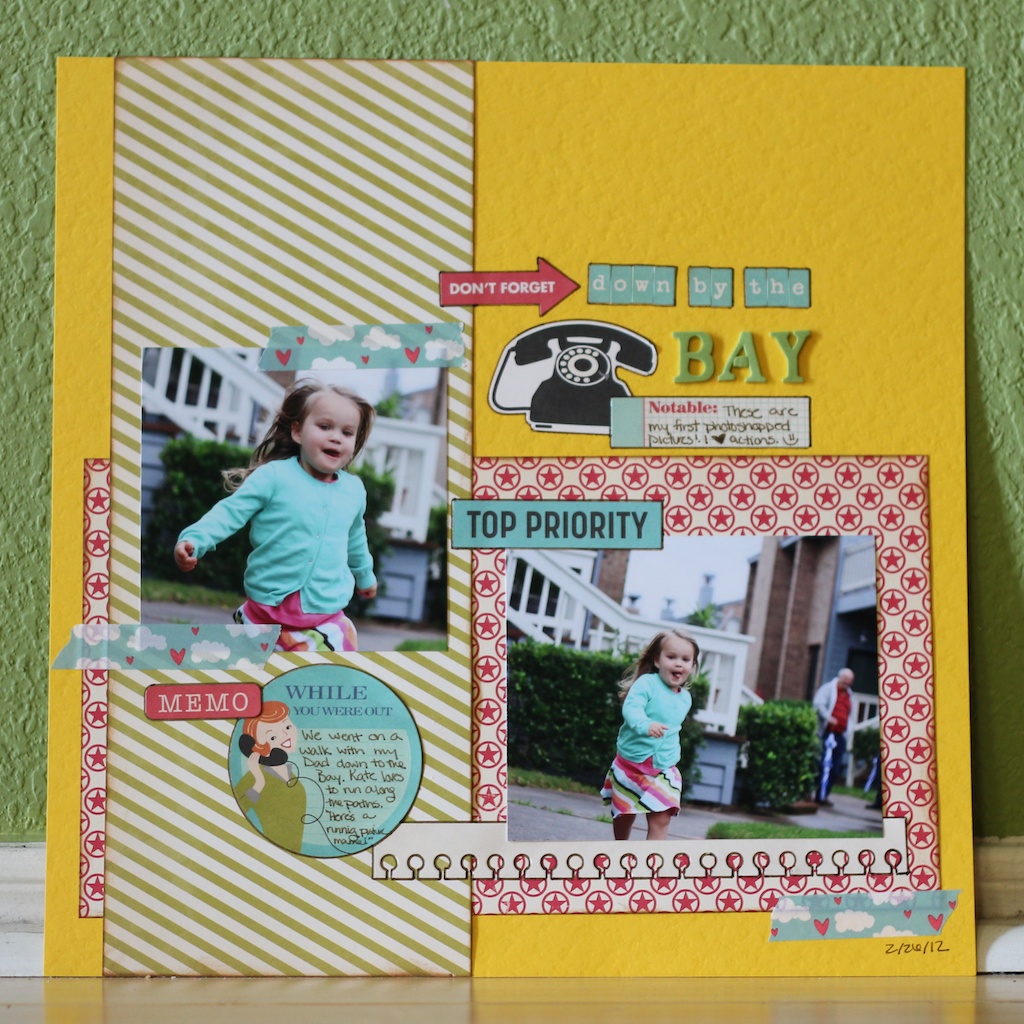
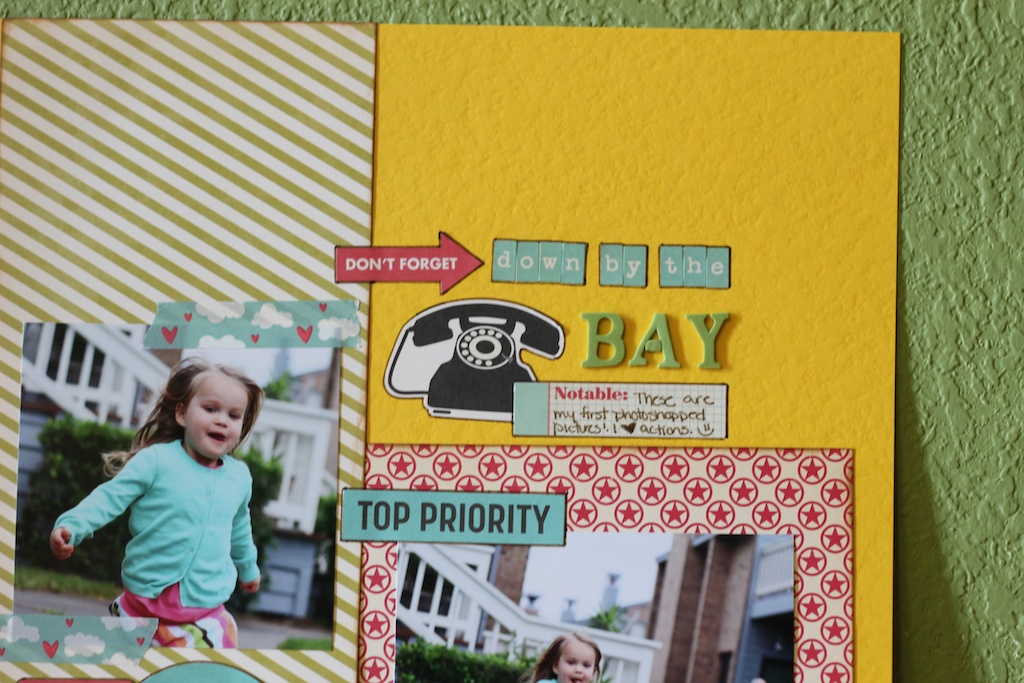
Down by the Bay
Color Theory
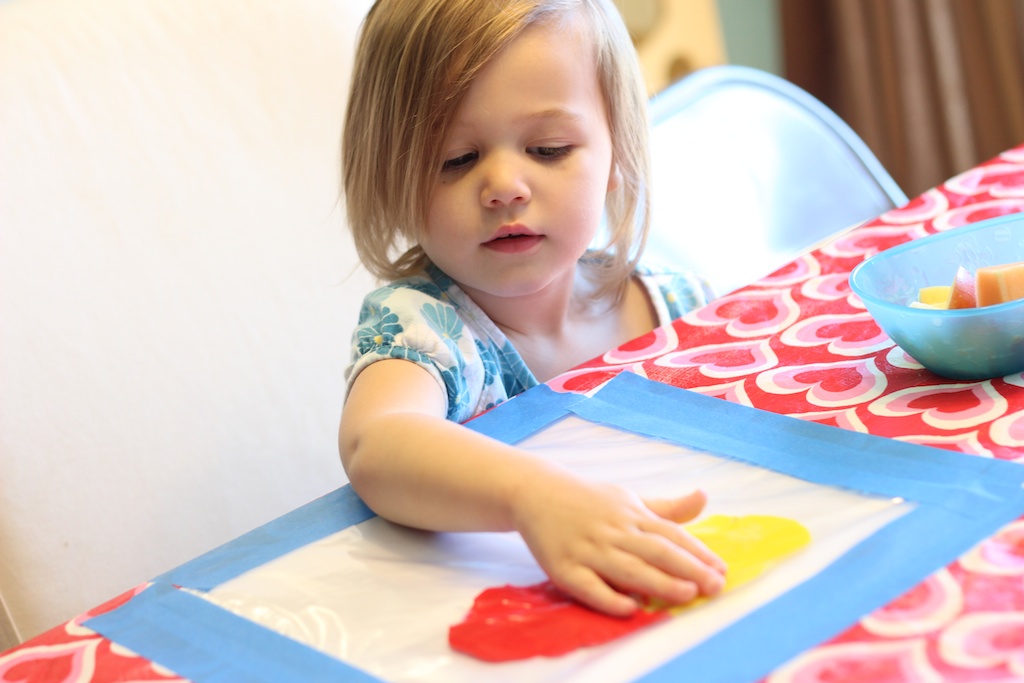
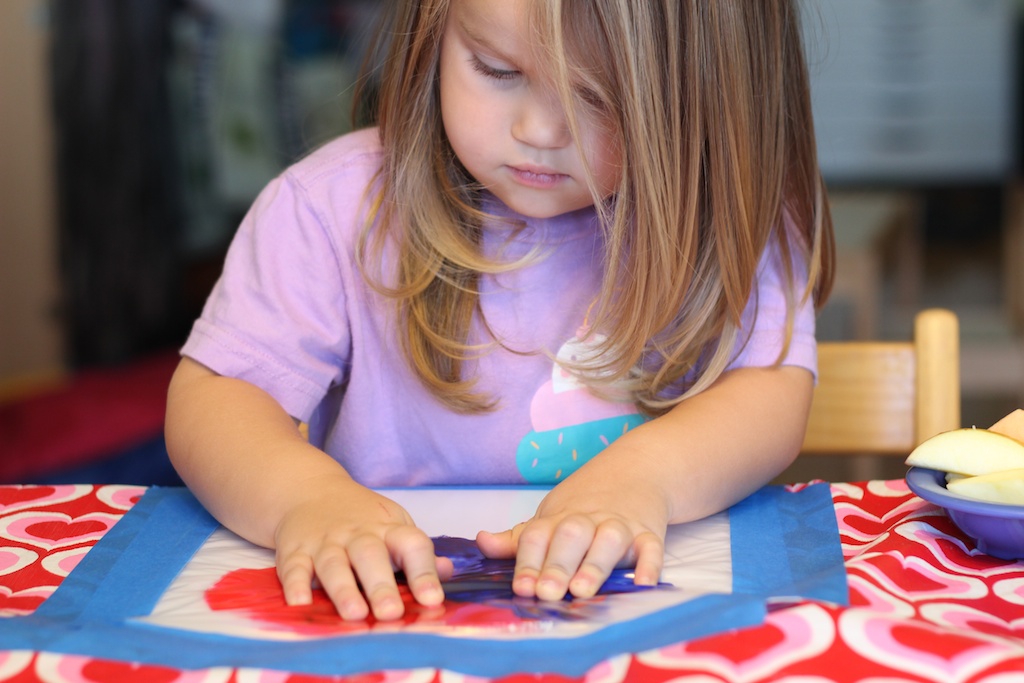
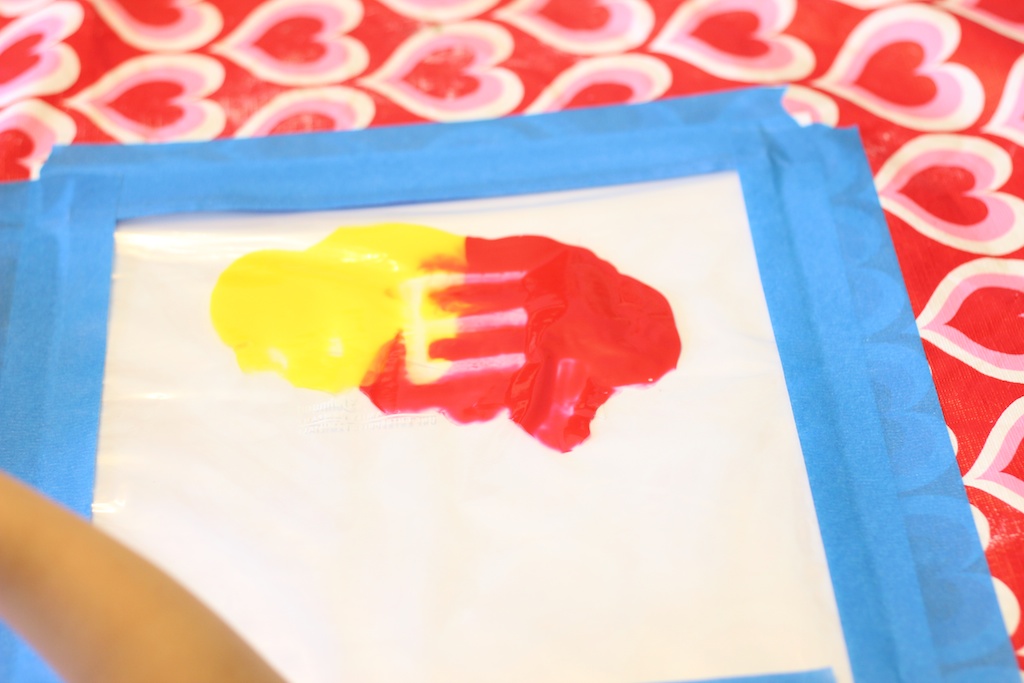
I ran across this on Pinterest and I’ve been itching to try it out with the girls ever since. Well, today Kate was begging to play with paint so I decided to give it a whirl. It was a hit! And super easy. First I put some paint into some ziplock bags. (We don’t usually have these on hand, but I bought some to package up our busy bag swap projects. Score.) Then I taped the bags onto the table with a plain piece of white paper underneath so they could see the colors better.
Since there were three kiddos, we went with a bit of color theory action.
The color mixing was fun (yellow+blue worked the best) but what they really loved was the sensory aspect.
The paint was awesomely squishy. Side note: try to get as much air out of the bags as possible before taping them down.
After the squishing had lost a bit of it’s appeal, we “drew” in the paint.
This project was awesome. Painting with no mess! Perfection.
I’m going to put the bags away and see if they work again tomorrow. How cool would that be?
