The Luminaria

This super awesome sculpture thing called a luminaria was in Austin for 1 week.  Umm…  Methinks it’s field trip time!  The line was supposed to be several hours long so we dragged ourselves out of bed super early so we would be among the first in line.


It worked!  No doubt because we were riding with a friend and had no choice but to get our booties in gear.  It was pretty cold when we first got there so I convinced Kate to wear my hat.  So cute.


The downside to arriving 45 minutes early to avoid the lines is that you have 45 minutes to kill before they’ll let you in.  Luckily there was a nice open area for the kids to run around in.


Kate was amazed and, to be honest, so was I.


It was kind of like being onside of a giant bouncy house made of tubes.  Oh, and with crazy light coming in.


We were in the first group in so it wasn’t crowded when we first entered.  Of course 15 minutes later it was getting quite crowded, so I’m really glad that we got there early.

Kate is generally all over having her picture taken, but today she refused to pose.  She kept wanting to lay down in the middle of the rooms and stare at the ceiling.  I can’t blame her!


It was an awesome morning capped with a trip to the hamburger joint that has an attached playscape and ice cream shop.  Let’s just say that Kate was one very happy 2 year old.
Crock Pot Fail!

Flush with success from my crock pot beans, I decided to try out a tofu recipe.  It sounded delicious.  I mean, orange, honey, and soy sauce.  What’s not to love?

I started off my sautéing the tofu in a little bit of butter with some garlic per the recipe.  Side note: let’s all pretend like my stove is sparkling clean.  I actually considered spending an hour trying to photoshop out the mess.  Perhaps next time I’ll just spend 30 seconds cleaning the stove instead.
The recipe called for 1/4 of a cup of orange juice, but we don’t keep juice in the house.  I used my lime squeezer to juice some clementines instead.  Incidentally, I found that it’s much easier to juice them with the peels still on so I switched to that method right after taking this photo.  I threw the crushed (and peeled) oranges into the crock pot for a bit of fiber.  Even after adding the soy and honey, it didn’t seem like enough liquid, but it ended up being fine.  At least with regards to the liquid.
I put in some broccoli like the recipe called for and I added a bit of squash because we like veggies.  Perhaps I should have stuck with the recipe…

It looked (and smelled) great.  The last hour I threw in some quinoa since that worked so well with the beans.  It’s at about this point that it all started to go downhill.  The quinoa didn’t cook (probably because there wasn’t enough liquid), the veggies were totally mushy, and the sauce was pretty flavorless (maybe I should have stuck with the juice?)

Final verdict?  Well, Kate and Michael both felt the need to rinse their mouths after tasting it so we ordered pizza.  I might have to break up with my crock pot.

I think I would totally try this recipe again, just not in a crock pot.  The sauce has a lot of potential and if the veggies were just lightly steamed I think it would have been great.

Water Beads

I know that I can’t be the first person to post about this, but it’s new to me so I’m going with it.  🙂  I helped make a bunch of rose centerpieces (they were gorgeous by the way) for my college sorority’s formal recruitment a few weeks ago and we had a ton of these water beads left.  I knew that Kate would love them so I snagged a ziplock of the extras before they were thrown away.

Kate thought that they were just about the coolest things ever.  I’m not really sure how to describe them…  They’re sort of squishy, but firm at the same time.  Almost like tapioca but cooler.

None of us could stop playing with them.  🙂

Fair warning, after about a week and a half they started to attract fruit flies so they had to go.  Next time, maybe we’ll keep them in the fridge or something.  And trust me, there will be a next time because these are awesome.

December Daily Wrap Up

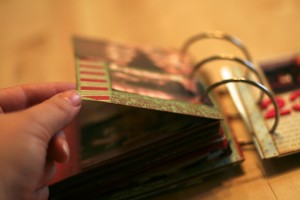
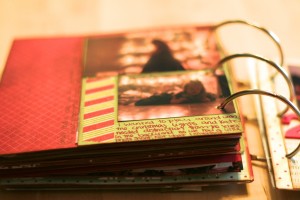
It’s done!  Finally!  I’m so glad that I did it again this year, but I’m not going to lie, I was happy to pack it away.  🙂

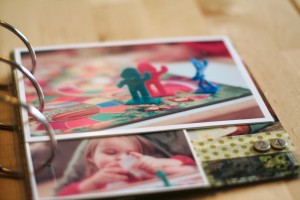
   Seeing as how Christmas Eve is my favorite, I had a lot of pictures I wanted to include.  We let Kate open up her present from us on Christmas Eve morning.  We had lots of fun playing candyland as a family.


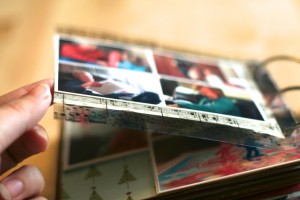
These 2 pages are just pictures taped back to back.


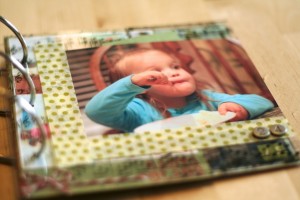
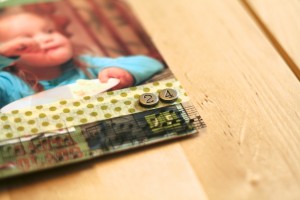
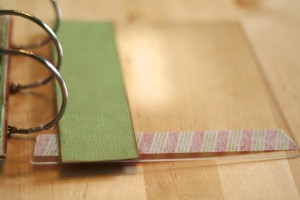
This base for this page is a transparency with a bit of washi tape added.  I used some metal numbers to add the date.


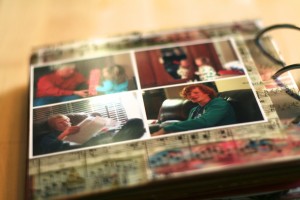
Here’s the backside.  I kept is simple with just a photo collage.


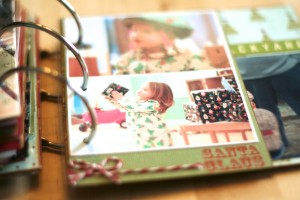
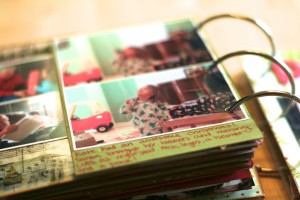
I had a lot of pictures from Christmas morning too so I added a page.  I used a sheet of card stock as a base for this page and added a bit of twine and a rubbon.

I added another photo collage and some journaling to the back.


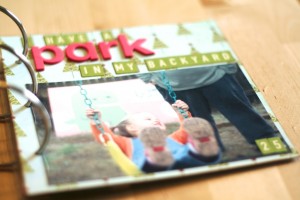
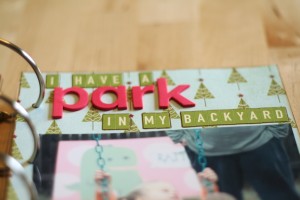
Santa brought Kate a playscape and she was thrilled.  She immediately proclaimed, “I have a park in my backyard!”

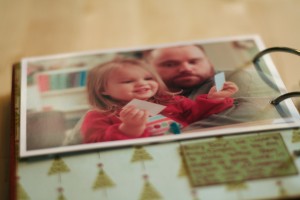
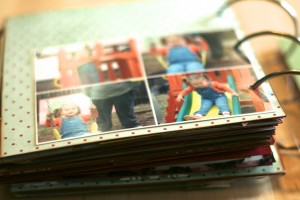
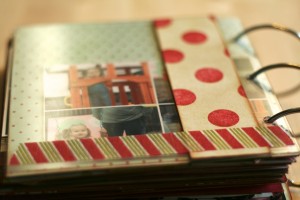
Backside just has a picture collage.  In retrospect, I wish I had flipped the base piece of paper so that the dots were in the front and the trees were on the back.


The back cover is a piece of acrylic just like the front cover.  This helps give the book some more stability.


Apple Chips

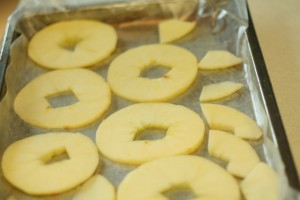
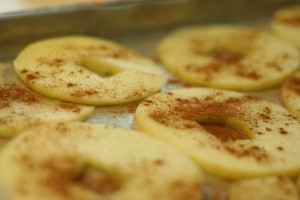
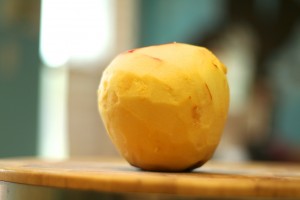
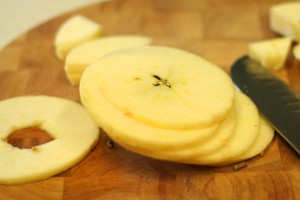
Today we made apple chips!  I, of course, found the inspiration on Pinterest.  Love that site.  First I peeled the apple.  I know that it would have looked prettier with the peel on, but this wasn’t an organic apple so it *had* to be peeled.  What.  Don’t look at me like that.  I’m not crazy.  Then I thinly sliced it and cut out the bit with the seeds.


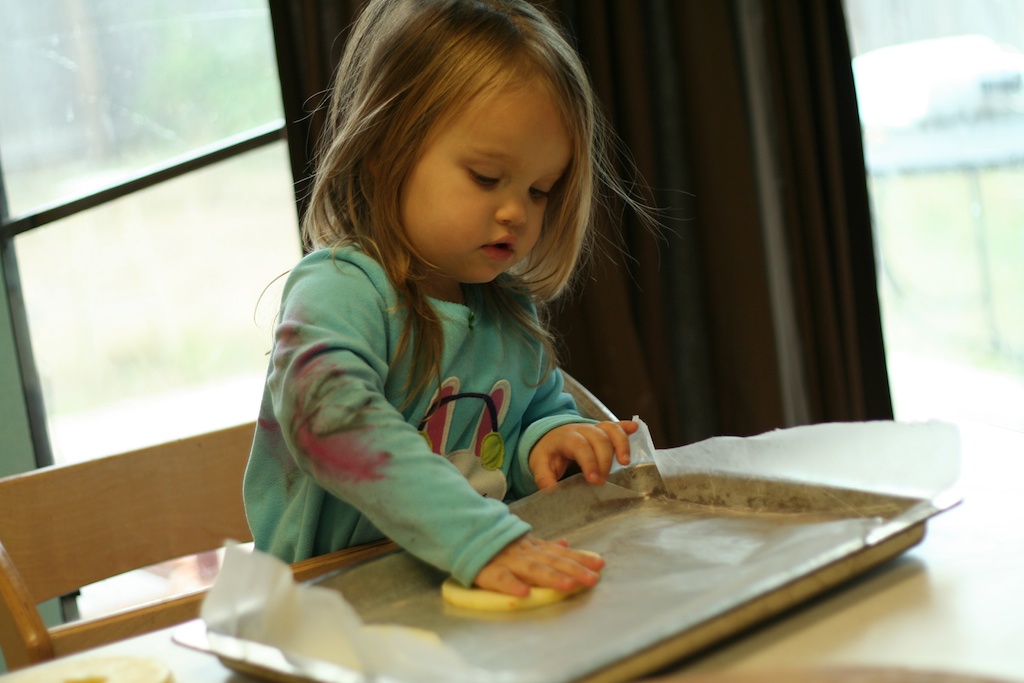
My lovely assistant Katherine helping me to put the apples on the cookie sheet.  Please ignore the fact that she’s still in her jammies and she’s covered in chalk.

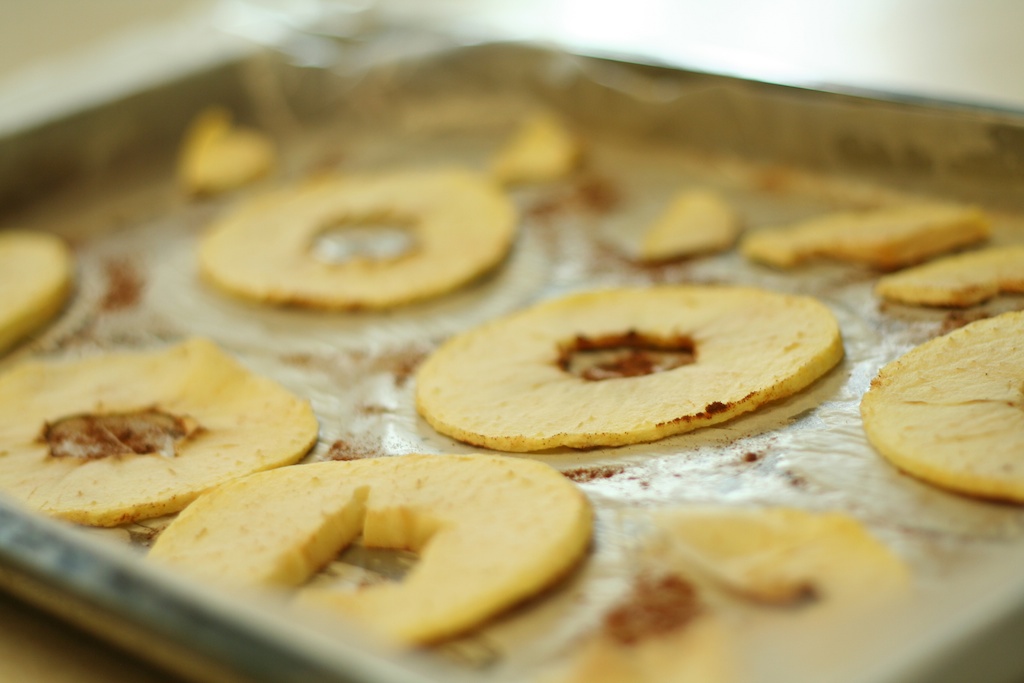
You’re supposed to line the cookie sheet with parchment paper, but I never seem to have any of that so we used waxed paper instead.  It stuck to the cookie sheet after baking which kind of defeated the purpose.  We might skip it next time.


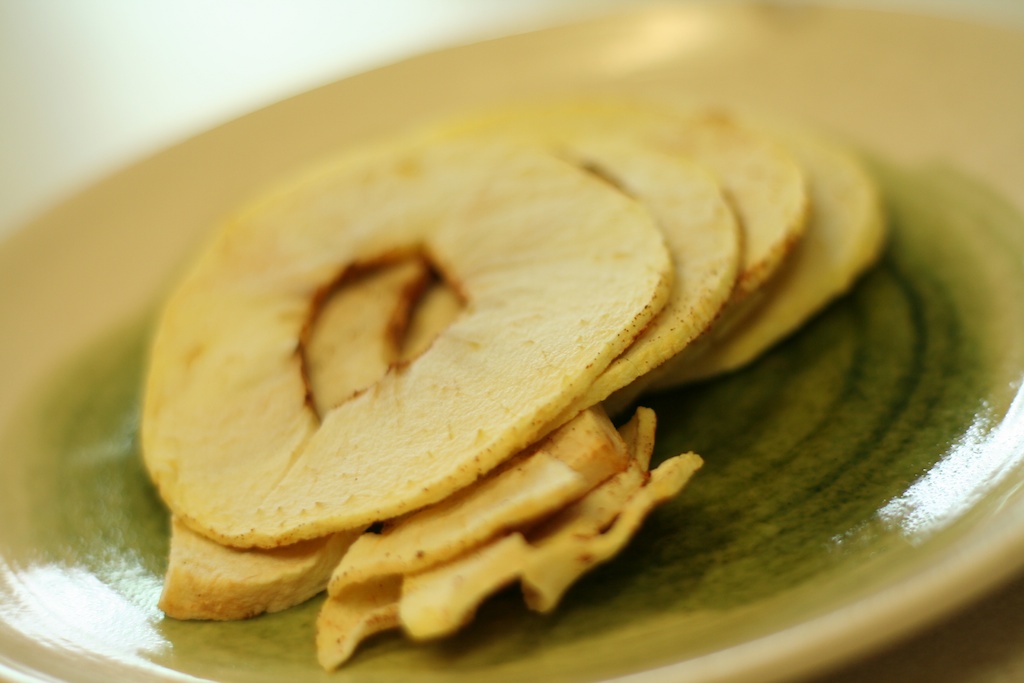
You can smush all of the apple slices together; it’s fine if they are touching.  We sprinkled them with a bit of cinnamon and into the oven they went.  They’re supposed to cook at 275* for 2 hours and you turn them over at the hour mark.  Of course, I screwed this up.  Luckily apple chips are pretty forgiving.  The first time I did this right and they came out perfectly.  This time I baked them at 225* and they didn’t quite crisp up.  They are still mighty tasty though.  

I’m sure these would be even better with the addition of some butter and sugar.  Mama’s on a diet though and Kate doesn’t know the difference.

The best thing about these is that they make your house smell amazing.  They are a lot of work though and you don’t get much return.  Perhaps I should buy a candle instead?  🙂


Tasty Gingerbread Fun

I’ve decided to ignore the fact that I still have pictures left to scrap from this summer in favor of playing with my new Christmas paper.  What?  Don’t try to deny that you do the same thing.  🙂  These are the pictures from when we went to decorate gingerbread houses at the Children’s Museum.  Love them!

Ignore the precariously balanced pages.  I decided that the pictures would photograph better against a red wall so I balanced them on my headboard.  I didn’t want to move them around too much for fear they would fall behind my bed.  🙂  All of the paper and the chipboard stickers are from the 12 Days of Christmas collection from My Mind’s Eye.  The letters are from October Afternoon and Thickers.

I decided to stitch a border around the pictures with my sewing machine.  I looked over at it and it was already threaded with pink thread.  How could I resist?

I inked the edges of the paper with pink ink and added a chipboard sticker across the bottom.  I cut it along one of the candy pieces to make it shorter.  Plus, I can use the other part on another layout.

I added another chipboard sticker at the top of the page and then added the title.  It still seemed like it needed a little something something so I added some stitching to make a border.

I added the date and a bit of journaling and called it good!


First Crock Pot Meal

I’ve been intrigued by the whole crock pot phenomenon for quite some time now, but have been reluctant to jump on the band wagon for 2 reasons.  1, most crock pot meals center around a hunk of meat and I’m a quasi-vegetarian (I do eat seafood.)  2, most recipes have a bunch of processed canned foods and we try to avoid them.  Beans though, beans can be cooked in a crock pot, right? Enter this recipe.

Now, it should be clear by now that I’m not great at following directions.  😉  First off, Michael cooks beans all the time and he scoffed at the recipe calling for boiling the beans for 10 minutes and letting them soak for an hour.  We soaked them overnight instead and cooked them longer.

Next up the veggies.  It called for 1 carrot, but I used about 3/4 of a cup of baby carrots.  Likewise, I upped the celery from one stalk to 4.  Hey, veggies are good right?  Onion and garlic, check.  We used one orange bell pepper instead of 2 green ones and I left out the jalapenos because Kate’s not a huge fan of spicy foods.  I’m not entirely sure how that can be since her amniotic fluid was probably 90% salsa, but it is what it is.  🙂  Michael and I added salsa at the table.

I used 5 fresh tomatoes  in place of the can of tomato.  The other big change I made was to add the veggies at the beginning and let them cook all day instead of just the last 3 hours because, I’ll be honest, I had no intention of pulling half of this out and pureeing it.  Seriously, people do this?

Spices, check.  🙂  I started it at 9AM, all of the veggies were in by 10AM and the crockpot switched from High Heat to Warm (All on its own!  How cool is that?) at 3PM.  Oh, and I subbed quinoa in place of the rice and lentils.  I added the quinoa at 5PM and we ate at 6PM.

I served it up with a bit of cheese, salsa, avocado and fresh lime.

We both agreed that it needed more salt.  Seriously, even Michael added salt.  Next time I’ll replace the celery with zucchini as Michael was not a huge fan of the celery.  Michael wants the onions sauteed, but I’m too lazy busy to add another step.

Now this wasn’t exactly the super easy crock pot meal I had been envisioning (it took me an hour to cut up all of the vegetables and stuff) but it was nice to get it done in the morning instead of scrambling after work.  Also, it made a ton of food.  I think we could get another 15 meals out of it.  (Not quite, but 2 more easily.)  In the interest of full disclosure, we have a larger oval crock pot.  I’m not sure that all of these veggies would have fit it a smaller one.

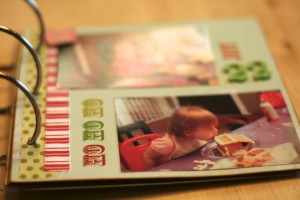
Days 22 and 23

On the 22nd, we went over to a gingerbread decorating birthday party.  So much fun!

I added this Party Time charm that I’ve been hoarding for years.  I was always saving it for some super fantastic page and then it went out of style.  lol.  Into December Daily it goes.  🙂


Some washi tape, ribbon and rubbons later and I called it good.

Here’s the back.  I left it blurry on purpose because I forgot to ask the kids mom’s if they minded me putting their kids on my blog.

Kate and I tried had a little Christmas tree photoshoot that evening.  The pictures didn’t turn out quite like I wanted, but it did serve the purpose of distracting Kate from the elves who were assembling a playscape in our backyard.  🙂


I added some journaling and washi tape on the back.

On the 23rd, we went to look at the Christmas lights in my parents’ neighborhood.  It was freezing, but Kate loved it.

2 more days!

Mama Apron

I’ve made aprons for Kate before, but never for myself.  Time to change that!  I got this awesome book for Christmas and have been totally inspired.

Incidentally, I also got a subscription to the magazine and I am thrilled.  It’s seriously the best magazine ever.  Go subscribe now.  🙂  Back to aprons though, I have been wanting to make one for a while, but it seemed way too complicated.  Enter page 29.

Awesome!  It doesn’t even have to be hemmed!  Sign me up.  🙂

Now, those of you who have met me in real life know that I am not generally considered to be in the one size fits all camp, so I changed it up a bit.  Instead of cutting the waist part with a 4 inch diameter, I went with 8.  Let me just tell ya, 6 may have been better.  The apron is ridiculously short and I had to trim it down so it wasn’t quite so wide.  Whoops.  Eh, I still think it’s cute.  🙂

Instead of hemming it, you edge it with bias tape.  Man, where has this stuff been all my life?!?  Apparently, you’re supposed to use double fold bias tape, but that would require me to a.  pay attention to the pattern and b.  remember it when I’m out shopping.  Not likely.  I ended up with single fold so I just folded it over myself, stitched it down with a zigzag stitch and it worked fine.  I considered ironing it, but I only iron under extreme duress.  I like that it added a little pop of color as well.

I actually busted out some pins when I did the waist because I wanted to make sure that there was an even amount of bias tape at both ends to make the ties.  I tried to keep the tape folded over for the ties, but that made it was too narrow to feed through the sewing machine.  In the end, I just left it wide and stitched up the middle of the tape to catch both ends.

Here’s the finished waist band.

And the hem.

Michael even agreed to take a picture of it on.  🙂  Go forth and make an apron for yourself!  Cooking is way more fun when you have a sassy apron.

Day 21

On the 21st we went to a holiday party with our playgroup.  So fun!Three pictures in a column with a bit of washi tape and some letter stickers.

I added a rubbon to the washi tape this time to mix it up a bit.  Still loving the washi tape.  🙂

On the back I have 2 more pictures and a chipboard strip.  I also have a fair amount of journaling, but it’s not showing up too well in the photo.

The light coming in the window was absolutely gorgeous, so I took approximately 12 thousand pictures.  🙂  I printed 2 4×6 collages with 4 photos each and adhered them sandwiching this piece of paper.  It’s like a transparency, but slightly frosted and a bit thicker.  I think it was from KI.

It has this fun scalloped edge that I love.

I realize that pink flowers are hardly Christmasy, but they are so fun and so girly.

Closing in on the home stretch.  I would love to finish this up this weekend and pack it away.