
If you follow me on Twitter, you know that I’ve been working on creating my own planner. I want to love my iPhone’s calendar, I really do, but we had to break up after I updated the OS and it stopped working. I figured if I was getting a planner anyway, I wanted to create a template for Project Life planner pages. I was hand drawing them each week and it was driving me crazy.
After searching on Pinterest for a while, I came across an awesome planner where you printed the pages yourself. Score! Since the files were sent to me as PDFs, I was able to create some customized pages that had the same style as the already created “standard” planner pages. I bought them on Etsy from a delightful seller who has planner pages all ready to print in a variety of sizes. Couldn’t have been easier. And yes, her work might look familiar since I’ve used some of her Project Life freebies in the past. Check out her blog.
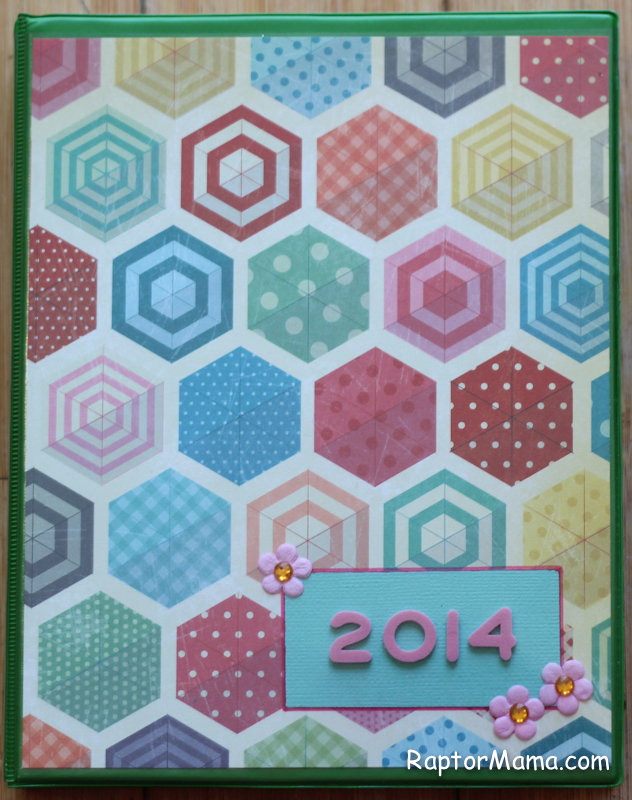
I was tempted to get a filofax to use as the binder, but those puppies are expensive! Not to mention, the pages are a strange size and I doubted my ability to print 2 to a page. Since I’m cheap, I went with the 8.5×5.5 size. This allows the pages to be printed landscape and then cut in half. Since I really wanted them to be printed in color I was trying to limit the number of pages I was printing. I ended up getting this binder in green at Office Max (Office Depot? One of the two. I’m sure it’s at both.) Then I made a cover using some paper from The Pier, some Thickers, a few Prima Flowers and some gems. Easy peasy. It slid right into the clear pocket on the front.
 Here’s the inside of the binder. I wasn’t sure about this pocket at first, but then I realized it’s the perfect size for my markers! Perfect. And check out the super awesome calendar page! I laminated it so it would be a bit sturdier. I hate it when the first page in a planner gets all beat up.
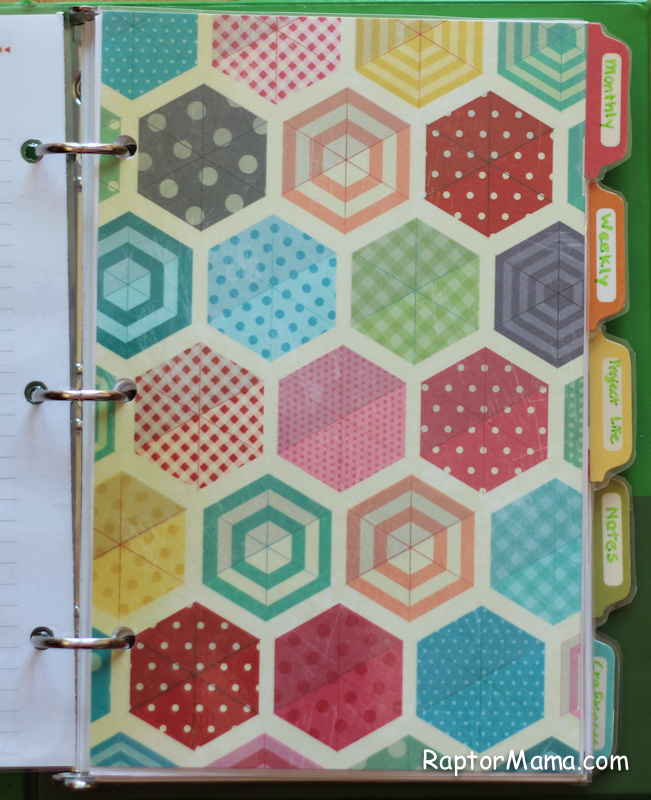 Y’all, I am in love with the dividers. I was initially going to cut them out on my cricut, but I have a Baby Bug and they needed to be wider than the cutting area. I ended up cutting rectangles with my paper trimmer, then sticking down these tab stickers (from various October Afternoon sticker sheets.) Once the tabs were stuck down, I cut around them by hand and then laminated them. I originally planned to have more dividers, but some of these tabs are from the 9 to 5 collection and I’m too cheap to pay for any more since they’re so old. On the off chance that I ever find some more, I wrote on the tabs in sharpie after I laminated them so that I could change them up.
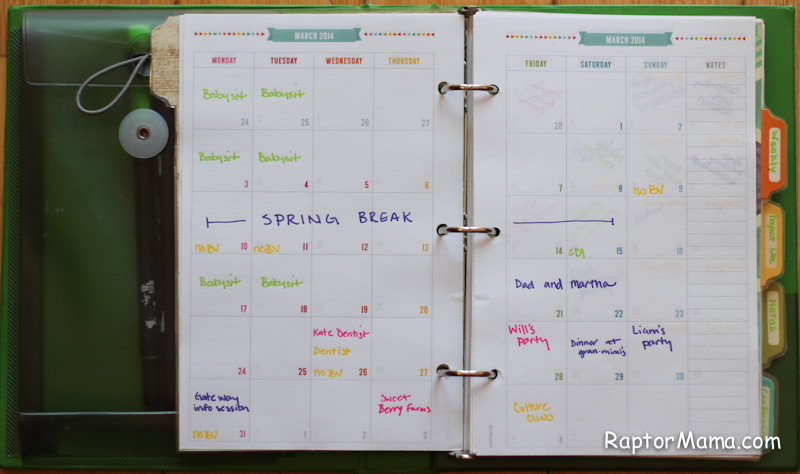 Here’s an example of the monthly planner page. I printed this one as is. I’m even color coding it, but who knows how long that will last. I try to put major events on here, but not to clutter it up with minor stuff. I leave that for the weekly pages.
 Here’s the weekly pages, again printed as is. I love that it had the option for a Monday start instead of a Sunday start. That’s how I structure my Project Life (I like the whole weekend on the same layout.) so I appreciate the continuity.
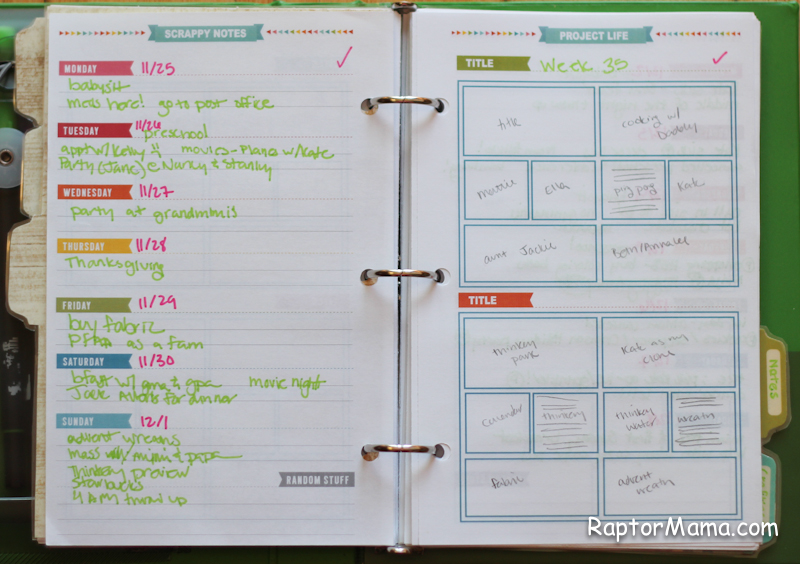 And now the pages that started this whole trip down the rabbit hole of planners. My Project Life planner pages! I have to admit, RaptorDad made these for me. He’s way better at photoshop than I am.
What I’ve been doing for the past year is writing down everything we do (after the fact) so that whenever I get around to actually doing a Project Life layout the info is easily available. Then on the right hand side, I have a grid set up so that as I’m editing the pics I can fit in exactly where each one will go, where the journaling will go, etc. It’s working really well. Even though I still have 4 weeks left to go in 2013, I don’t feel as behind since I know all of the info is already recorded.
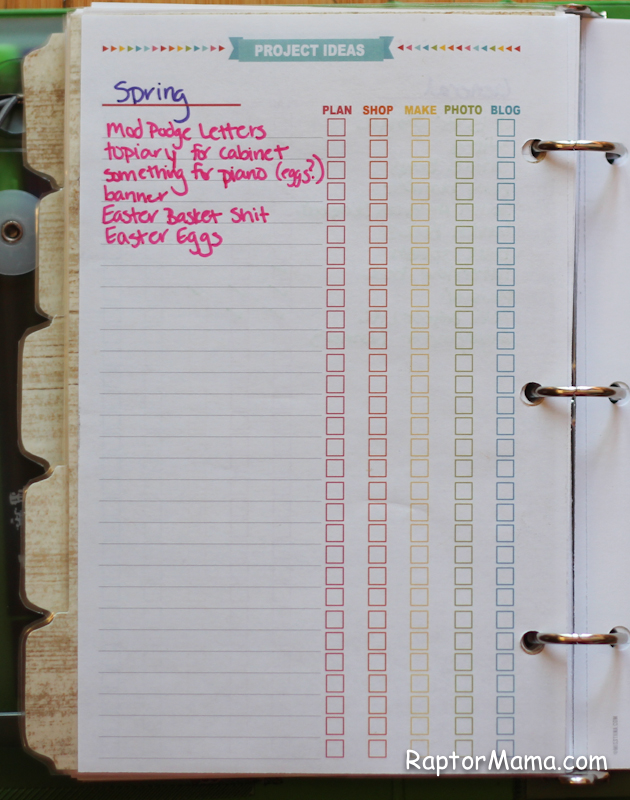
I also made a Project Ideas page so that I can keep track of my progress with all of the various projects I have going. I have a general one, a Spring one (shown), and then I’ll probably end up making other seasonal ones when the time comes. I like having them separated like this because as soon as Easter is over, I’ll likely lose all interest in this list until next year. This was I can easily keep track of things year to year.

Here’s a similar one but for scrapbooking. Sometimes I have more layouts, sometimes less. This way I can keep track of which pictures I’ve ordered, what’s already gone up on the blog, etc. Historically, this list has ended up on scraps of paper in various places all over the house. This new system is working a lot better.
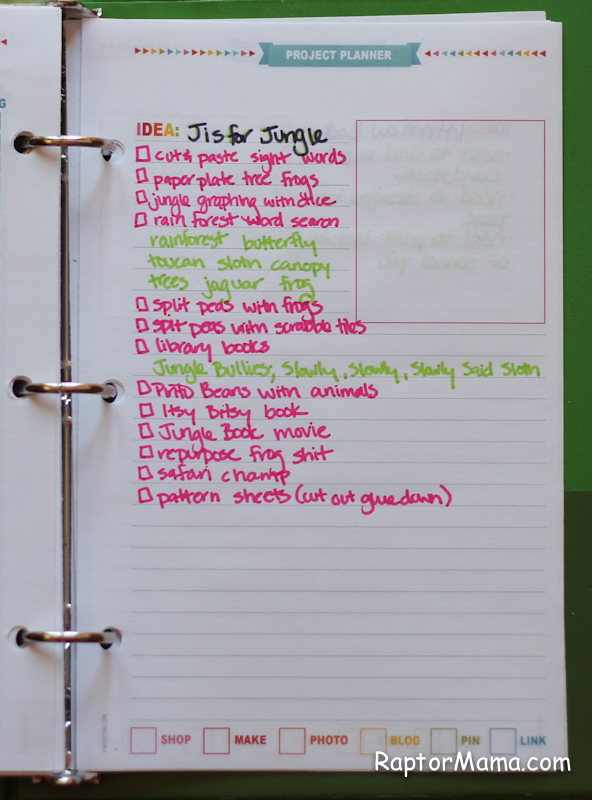
Here’s another page I designed to help me keep track of craft projects. I am seriously loving having all of these things in one place!
I have plans to print some more of the pages that came with the kit (meal planning perhaps? For sure the thank you note tracker. I’m also eying the date night planner.) I’m also considering designing some more pages in the future.
What do you guys think? Interested in seeing more planner posts in the future?