Let the Christmas crafts begin!
I had so much fun making these!
It was a pretty simple supply list. I bought some cardboard letters at Joannes to use as the base. I had planned on using wooden ones, but I didn’t like any of the fonts so cardboard it is. 🙂 I also used 1 piece of scrapbook paper (last year’s My Mind’s Eye), some paint, mod podge, scissors and a paint brush.
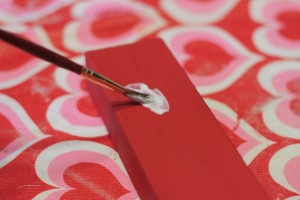
First I painted the front and sides of the letters red. I gave them 2 coats with plenty of dry time in between. Oh, and about halfway through the first coat, I remembered that thinner paint is your friend so I added a bit of water and shook it up. I’d go ahead and do this first if I was you. 🙂
The next day, I played around with how to lay out the letters so I could get away with using only one piece of paper. (I’m cheap like that.) If you’re spelling joy it works like this. 🙂 Of course this only works if your paper doesn’t have a directionality.
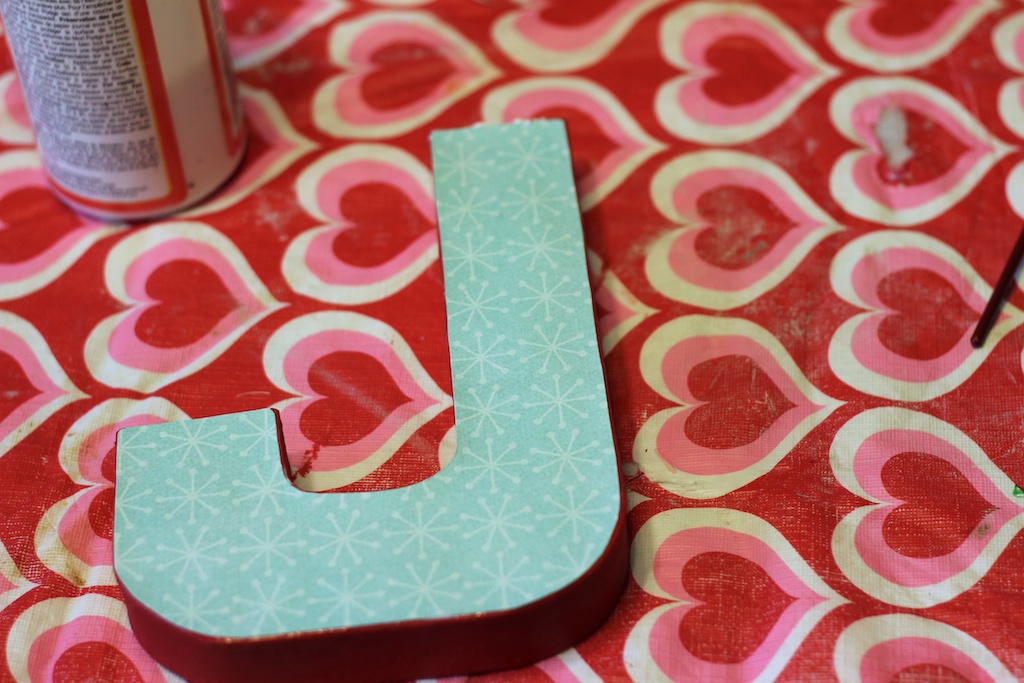
I just traced around the letters with a pencil. (Should I add that to the supply list?) When I cut them out, I cut inside of the lines because I wanted a wee bit of a red border on the top (maybe a mm or 2.)
As you can see from the curly cues, that’s easier said that done. lol. I erred on the side of too big and then went back several times removing just a hair more paper. It’s way easier to cut off a bit more than to cut out a whole new set because it’s too small.
Here you can see the bit of border. I think it gives it a bit of definition.
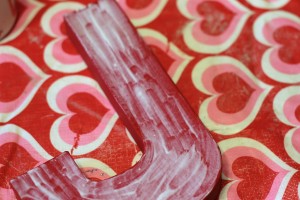
To attach the paper, first I painted a coat of mod podge onto the front of the letter. Paint quickly because it dries fast!
Then carefully set the paper on the letter and smooth out any bubbles.
I always end up with a bit of glue oozing out the sides because, according to my kindergarten teacher, I am a glue glober. It’s cool. We’ll deal with it in the next step.
Paint mod podge over the top of the letter to seal it paying special attention to the edges.
Then carefully paint the sides. You could probably skip painting the sides, but I like the gloss that it adds. Also, I would find it really frustrating to try to keep the mod podge from the sides while I was painting the top due to my previously mentioned glue glober status. It seems like more work to paint the sides, but trust me it’s easier in the end. After it was very dry, I added another coat to the top.
I love how they turned out!
ETA:
Y’all, my turkey button activity was featured on another blog! I may be a super huge dork, but I cannot tell you haw excited I am about this. 🙂


